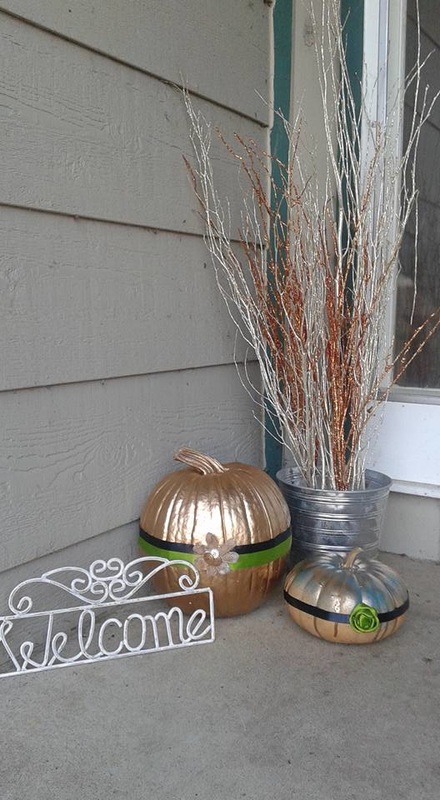
 | Yesterday, I purchased some pumpkins but unfortunately I was unable to carve them because of a thumb injury. So instead, I spray painted them! I used gold spray paint and some turquoise paint on the smaller one. I then used my handy, dandy hot glue gun to glue some black and green ribbon. I also added a lace flower with buttons that are spray painted gold and a green ribbon rolled into a flower shape. This was way easier and less messy than carving! |
|
0 Comments
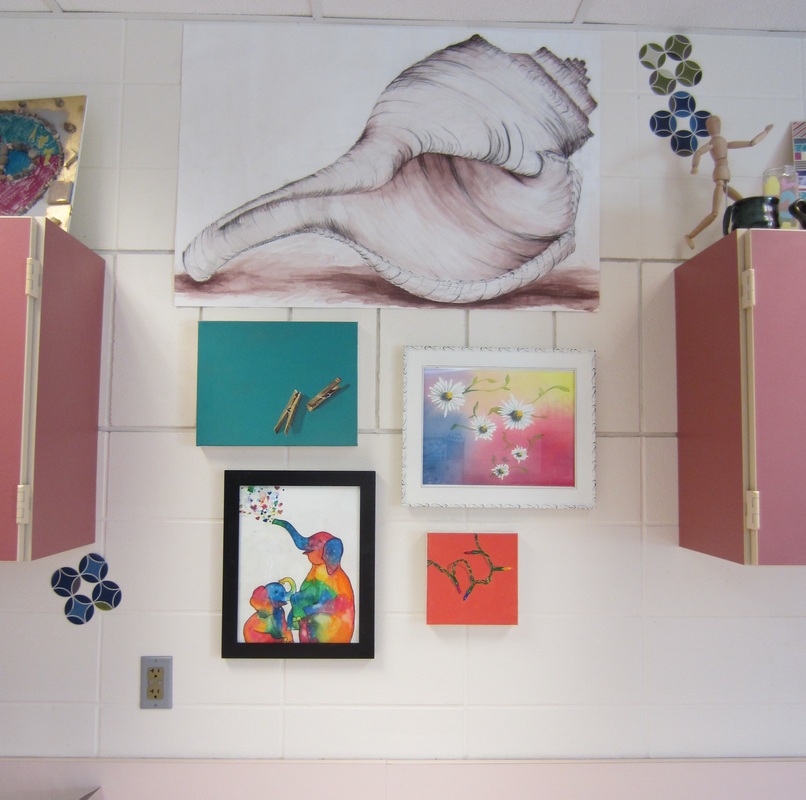 Getting ready for the year is always a fun and busy time. I enjoy coming up with new ideas and using ideas, mainly found on Pinterest. This year I've hung up some of my own artwork (seen on the left) to show my students that I not only teach art, but I make it too! I've also done some updating on my behavior chart and art room jobs poster. Examples of those will be here soon!
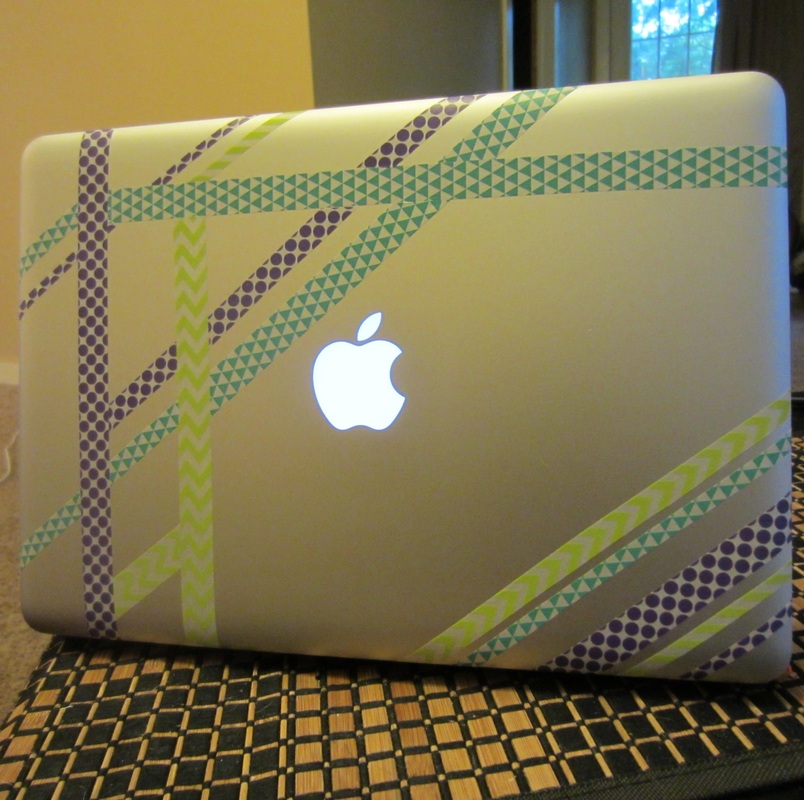
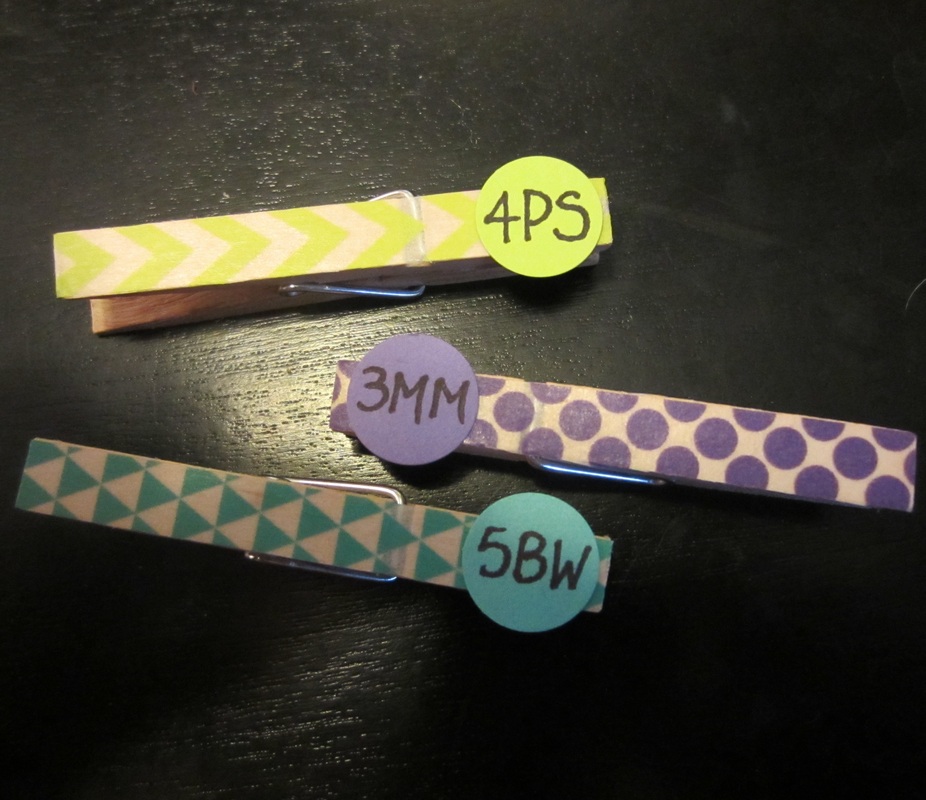
This spring, my husband and I bought a house so this summer was dedicated to making our house feel like a home! Here are some of my crafty projects. To create the "ombre" effect, I followed the advice from the site, Fox Hollow Cottage
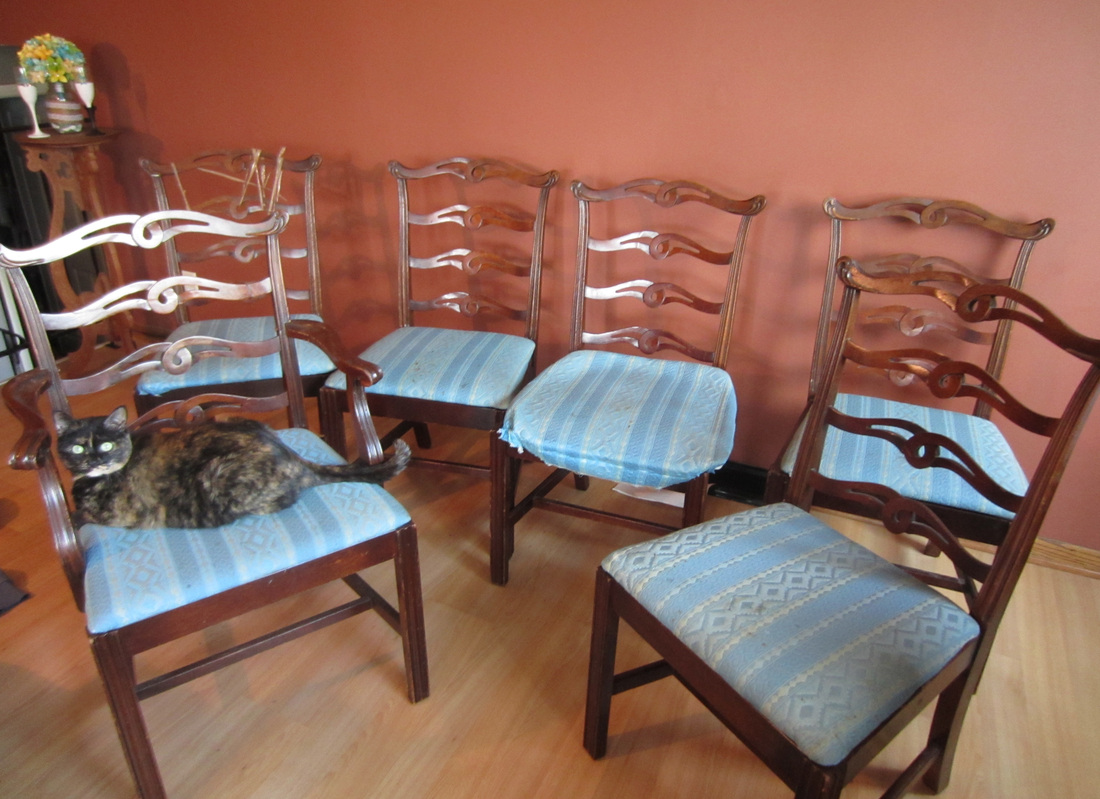
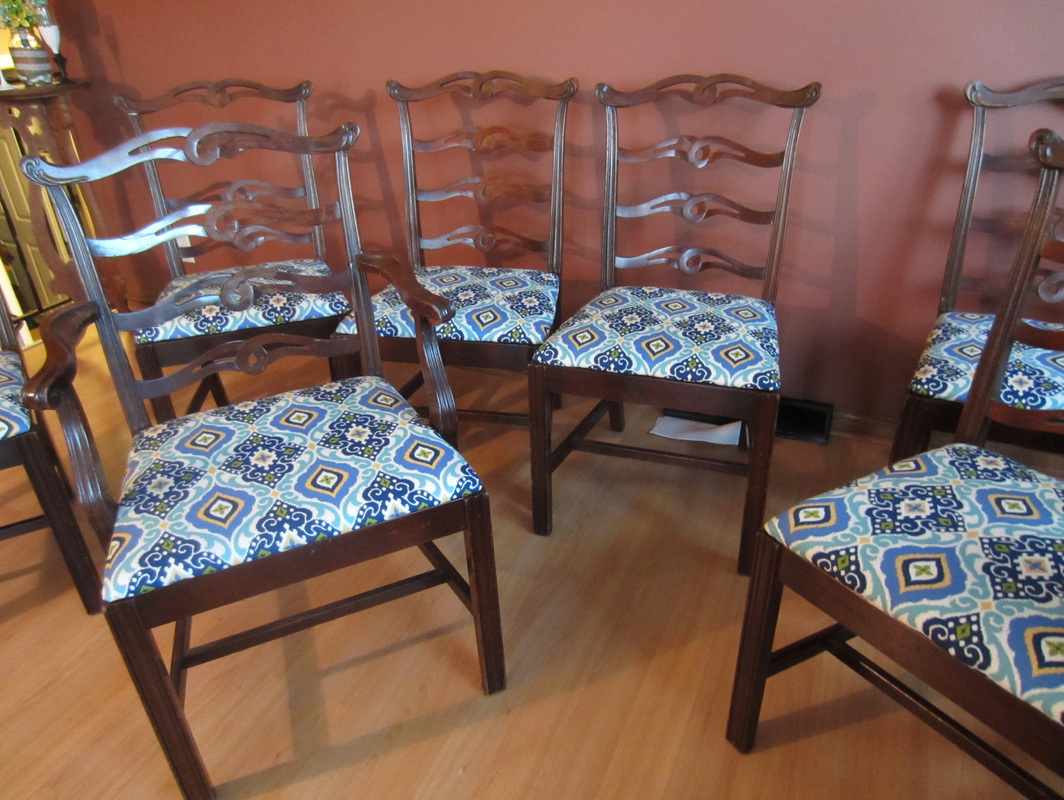
To reupholster chairs, I followed the same instructions that the blog, Poofy Cheeks, have shown.
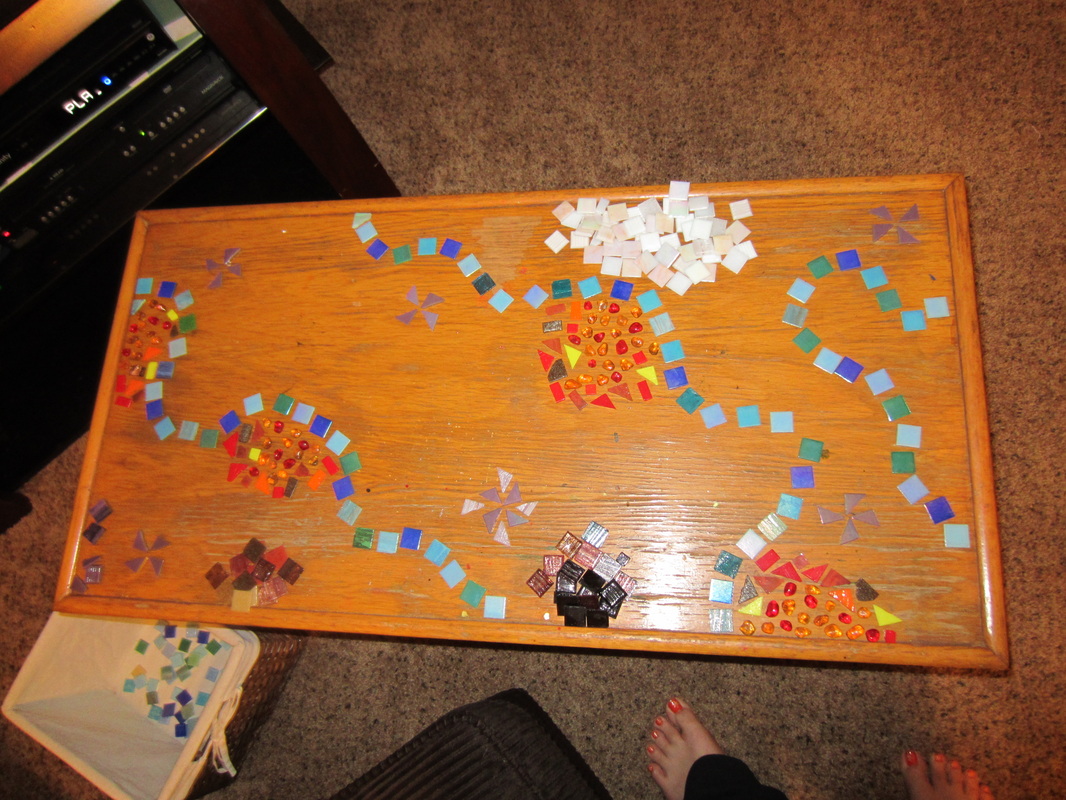
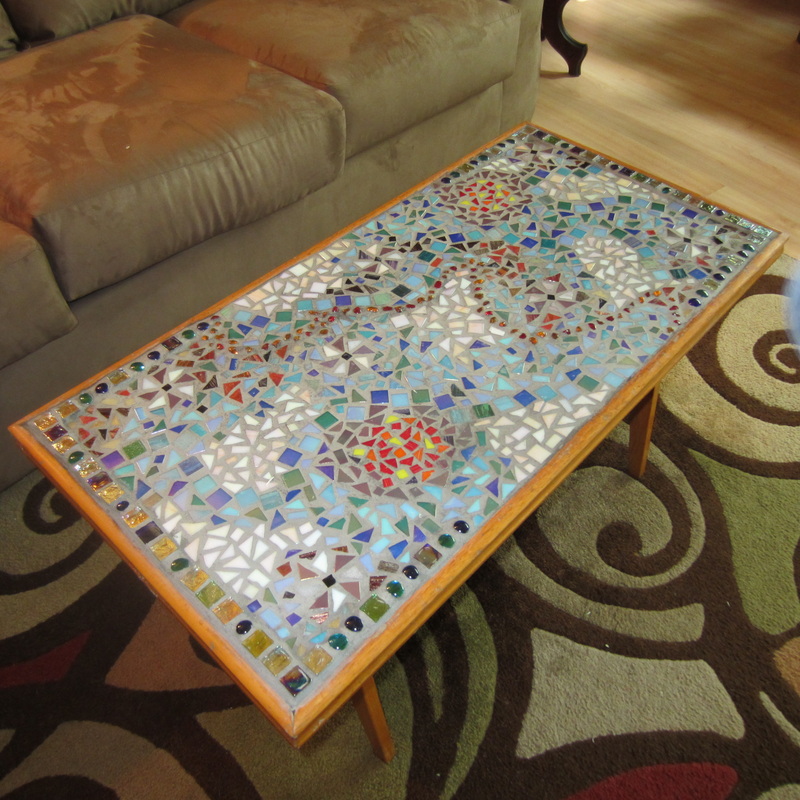
The coffee table I just purchased mosaic tiles and a tile cutter from Michaels and use E6000 glue to glue them all down (I set all of the pieces down before I glued). Then I purchased Grout from Home Depot and followed the instructions on the bag.
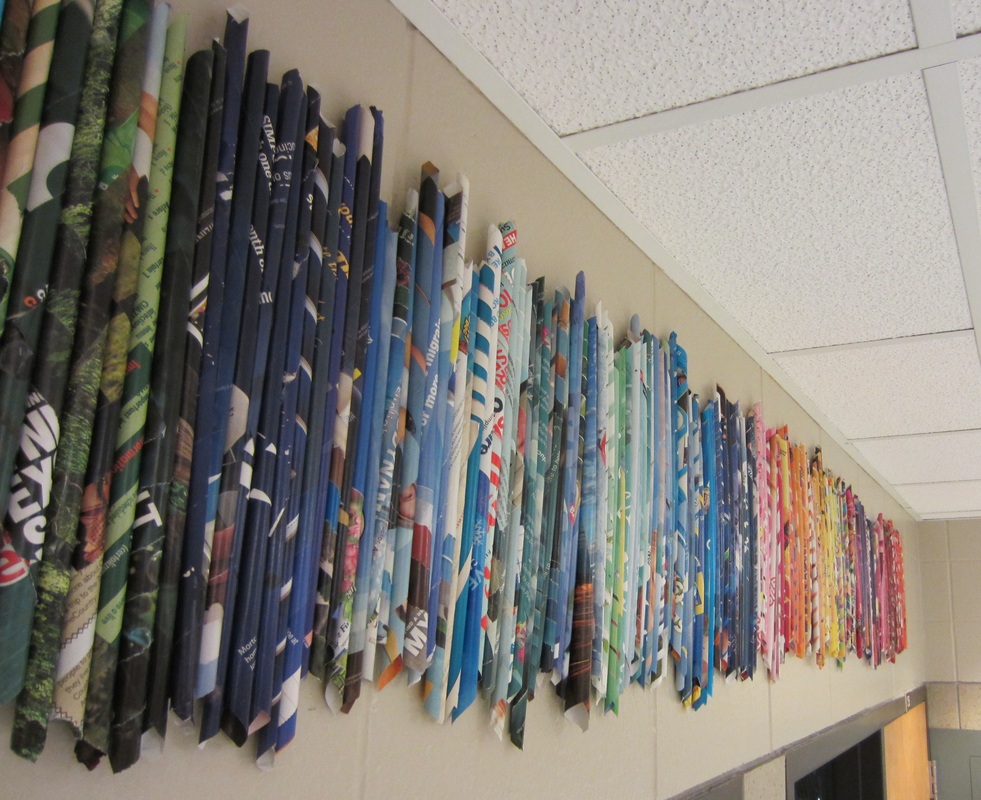 The 4th Graders had been working on Name Tangles and some classes missed their art time because of Rock Jogger. (school wide fitness program) Because of this, some of my 4th graders finished early and some were behind. Those students that finished early helped me create this artwork. It's really easy, keeps the students busy and it adds new art to the school. It is rolled magazines that are glued onto a piece of cardboard. I separated them by color to make it more interesting.
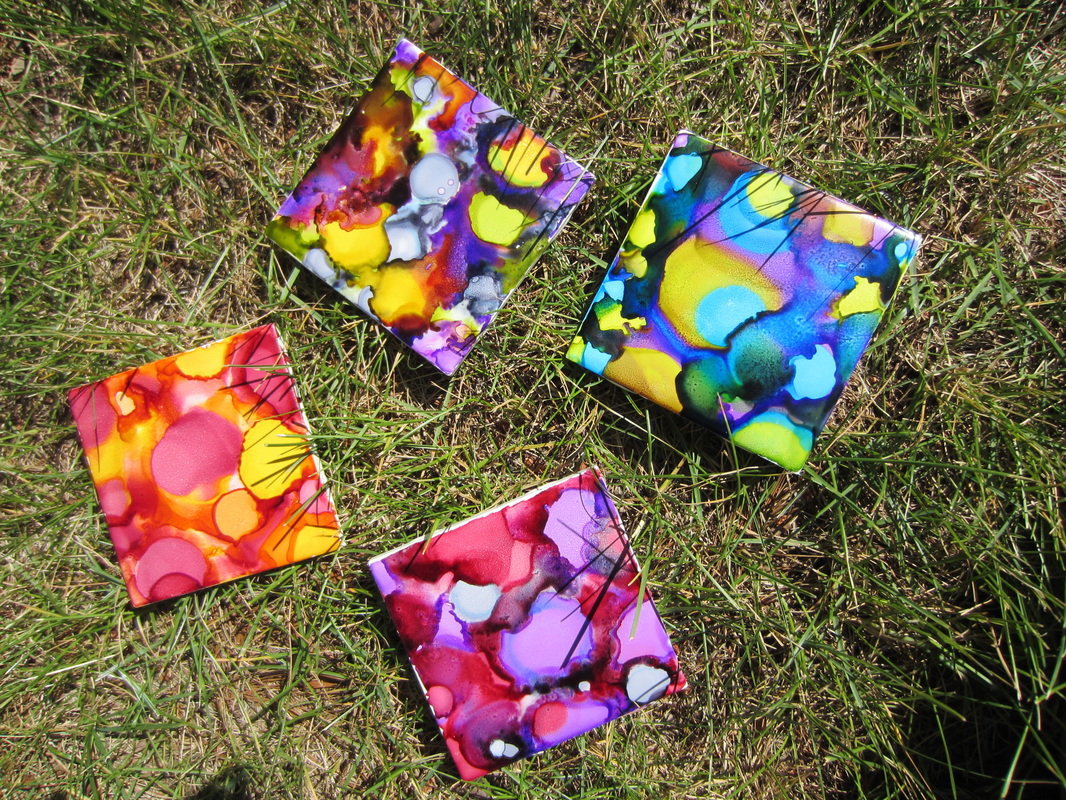 I've been planning for my summer art class for the past couple of weeks and have found some awesome art projects. One art project that the kids will be doing is making Ink Coasters with White Tiles, Adirondack Ink and Blending Alcohol. I found a great step-by-step (with photos!) tutorial from the blog, Life's a Craft Project. On the left, are some of my finished coasters outside to dry after I sprayed on the sealer.
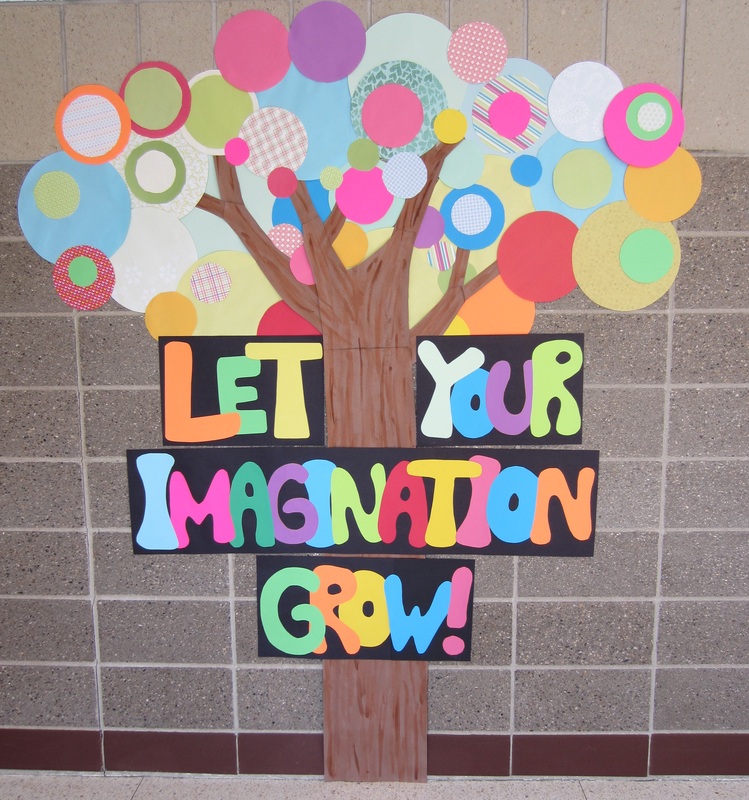 The school always looks so sad and lonely during the summer. There aren't any students and all of the artwork gets taken down. I thought that I should make something that gets left up all summer for all to see. I saw this tree on Mr. Picasso's Art Room Blog and I thought this would be just the perfect display to have during the summer. This display was really easy and turned out great! All I did was use construction paper to create the tree and scrapbook paper/card-stock to create the funky circle leaves. 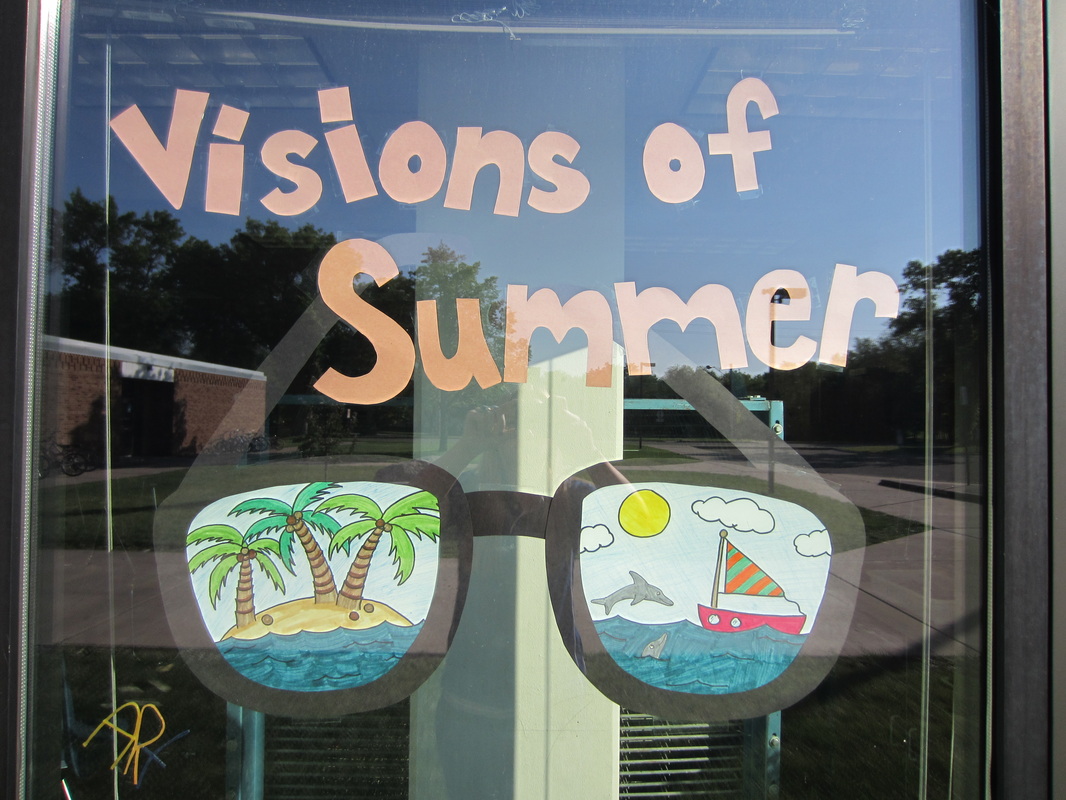 The art room window is one of the first windows walking to the main entrance so I thought decorating the window would also brighten up the school. I found this on the blog, Kids Artists, and made my own giant version.
 The pictures to the left are some paintings that I have created in the past 2 years and now are on display at a store in the Minneapolis area called Paper Hat. Come check them out!
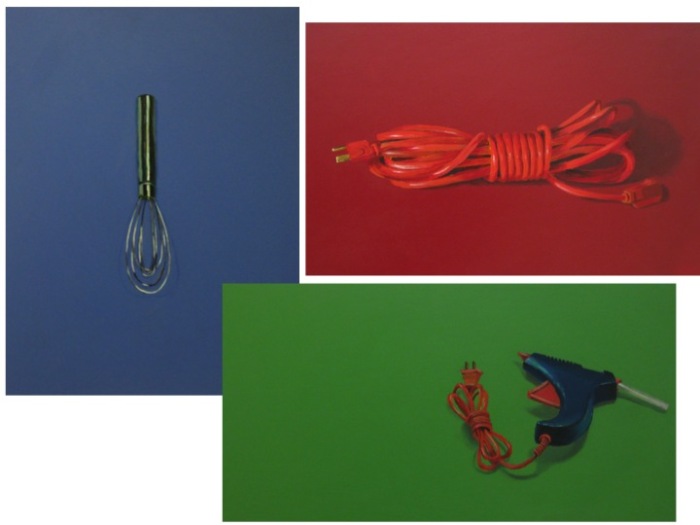
 Today I spent the majority of the day painting...and watching Mad Men simutaneoulsy. I wanted to finish my paintings before school started so of course I wait until the last weekend to actually finish but they turned out well.
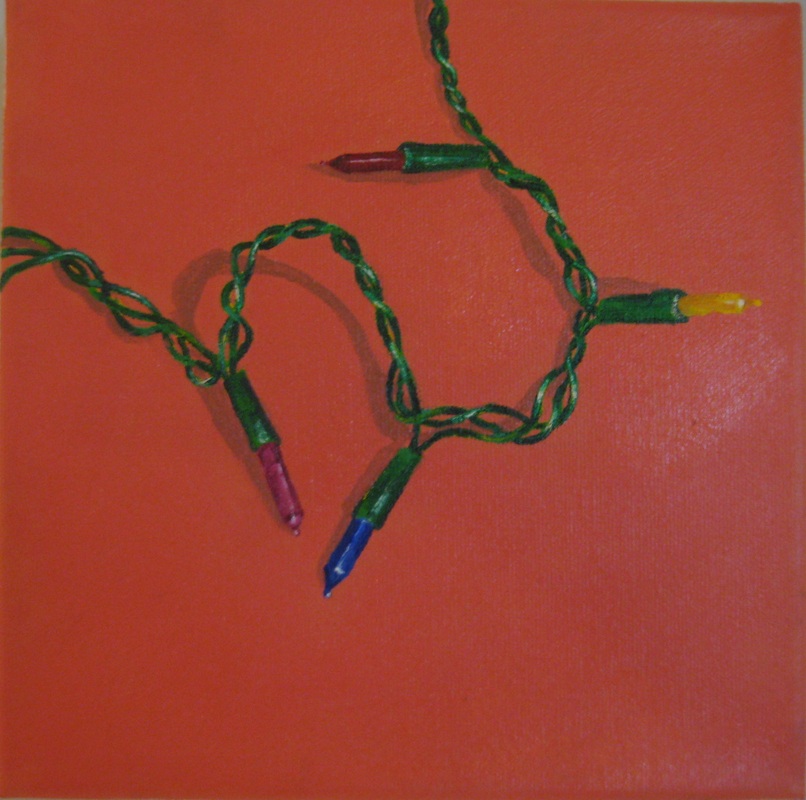
For some reason I enjoy painting everyday, mundane objects especially objects that have cords or wire. I like the intricacy of the cords and how detailed I can get in such a small area. To the left is one painting of Christmas lights. I know I'm a little early to be painting lights but I knew if I didn't do it now I wouldn't have time to do it. This photo is a little shiny because there is still paint drying. |
Categories
All
Gail Peroddy
I'm in my 6th year teaching art in Becker, MN. Time has really flown by! Wowza! Archives
April 2016
|


 RSS Feed
