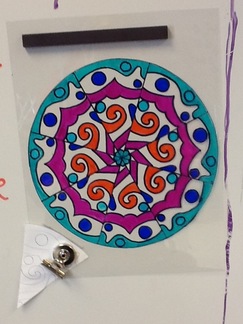
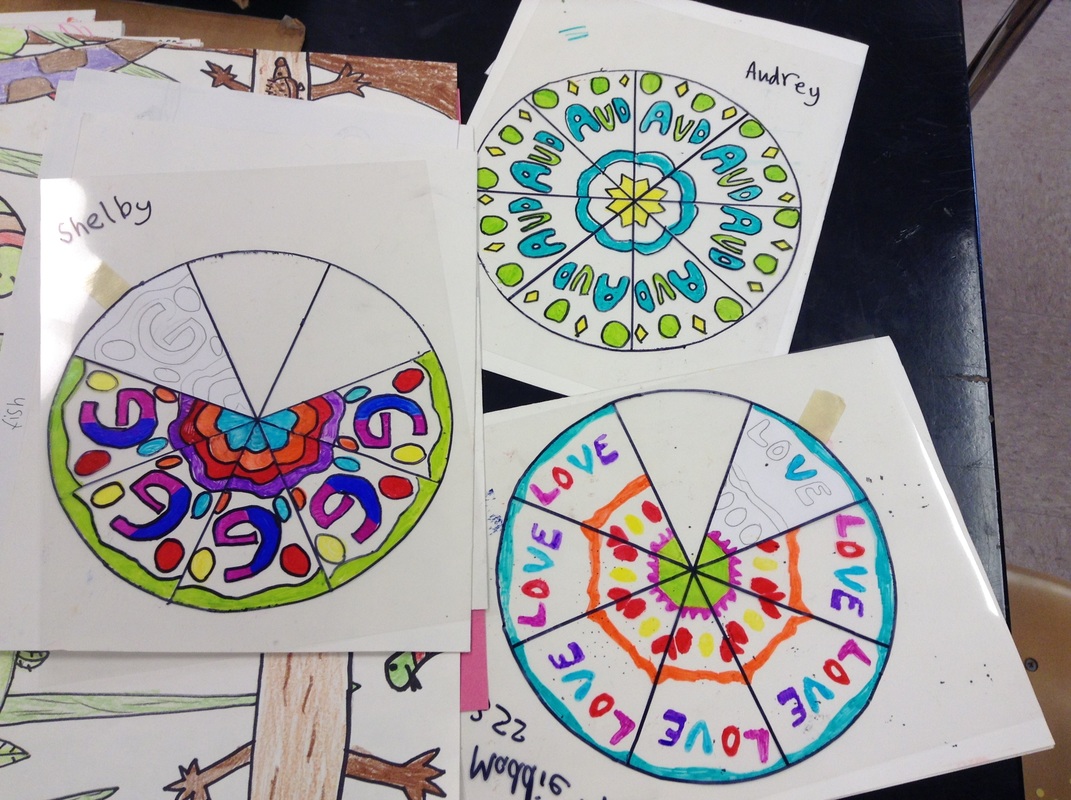
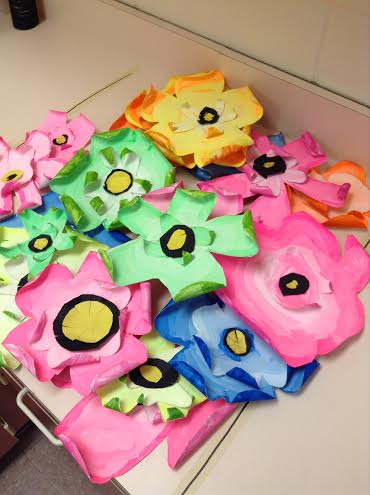
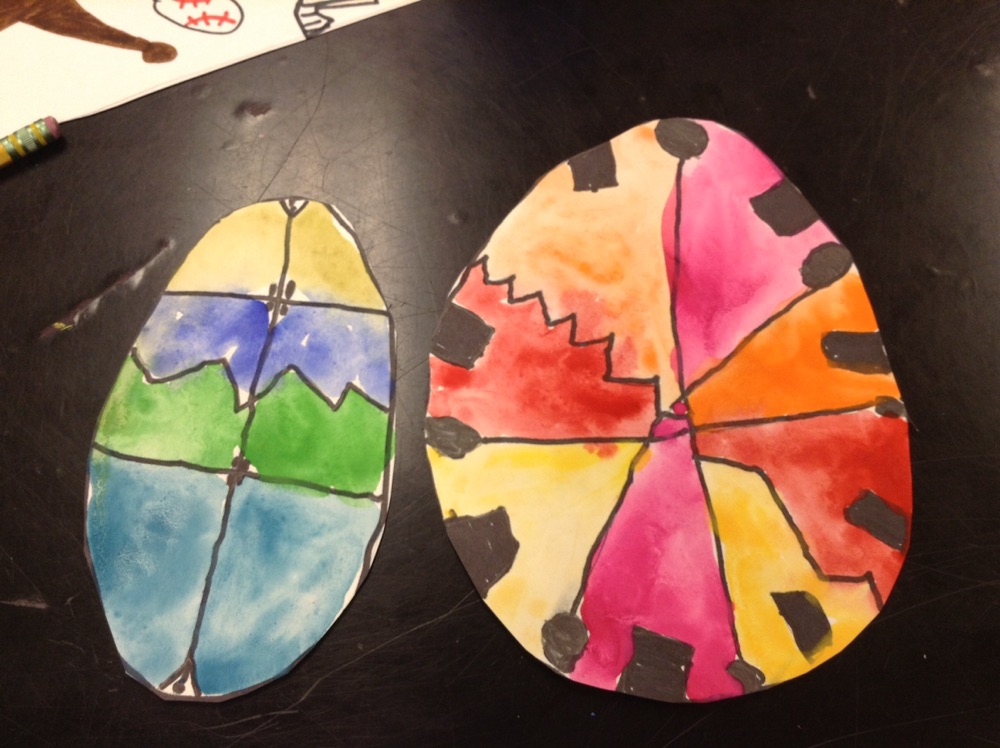
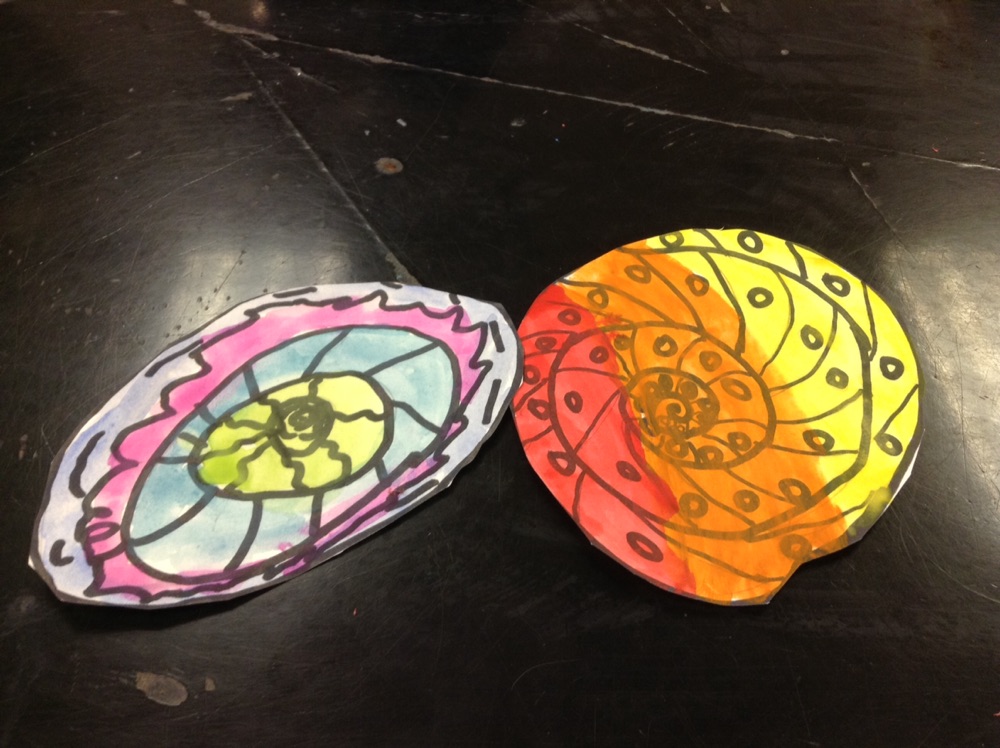
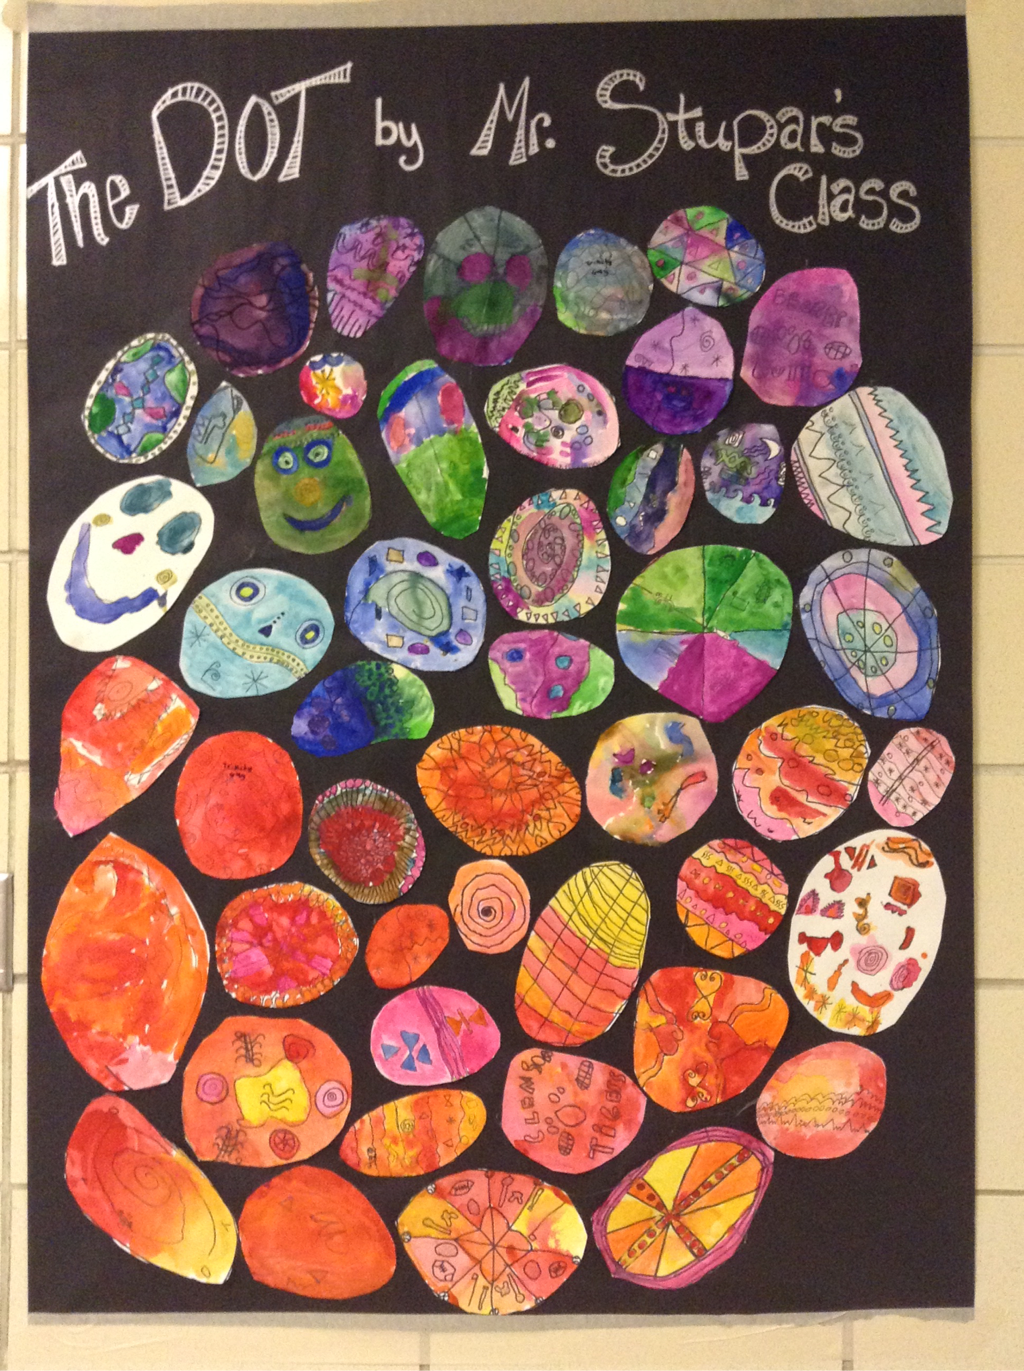
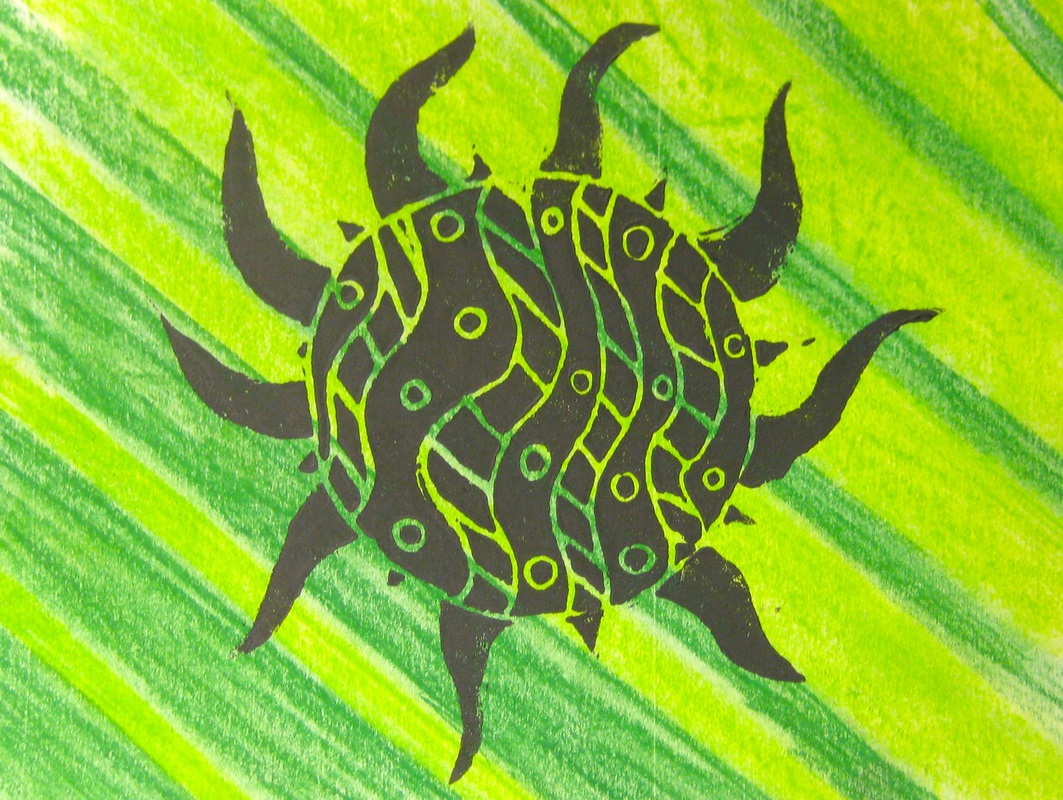
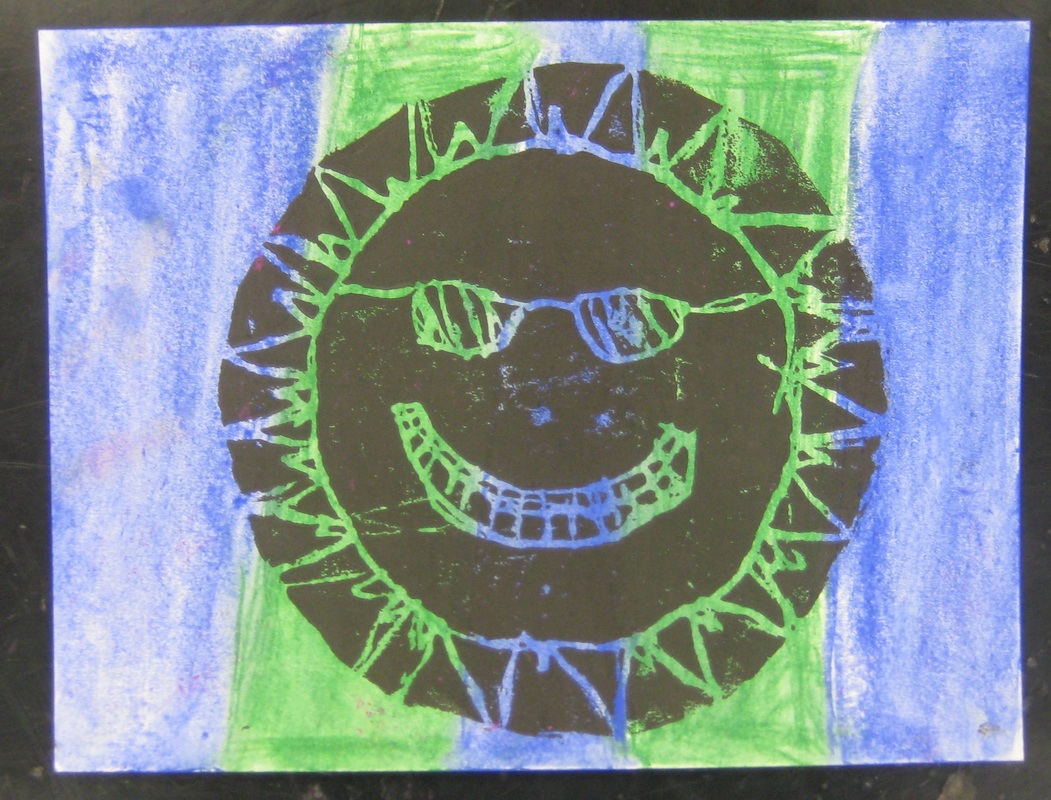
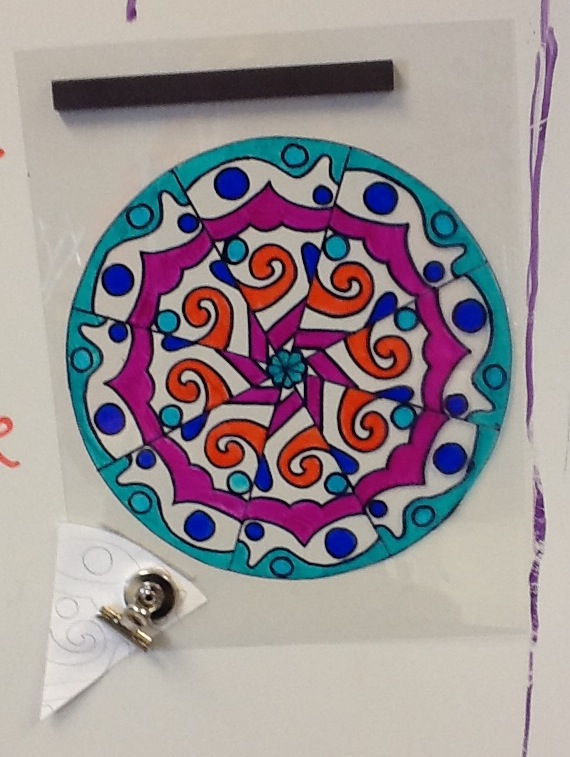
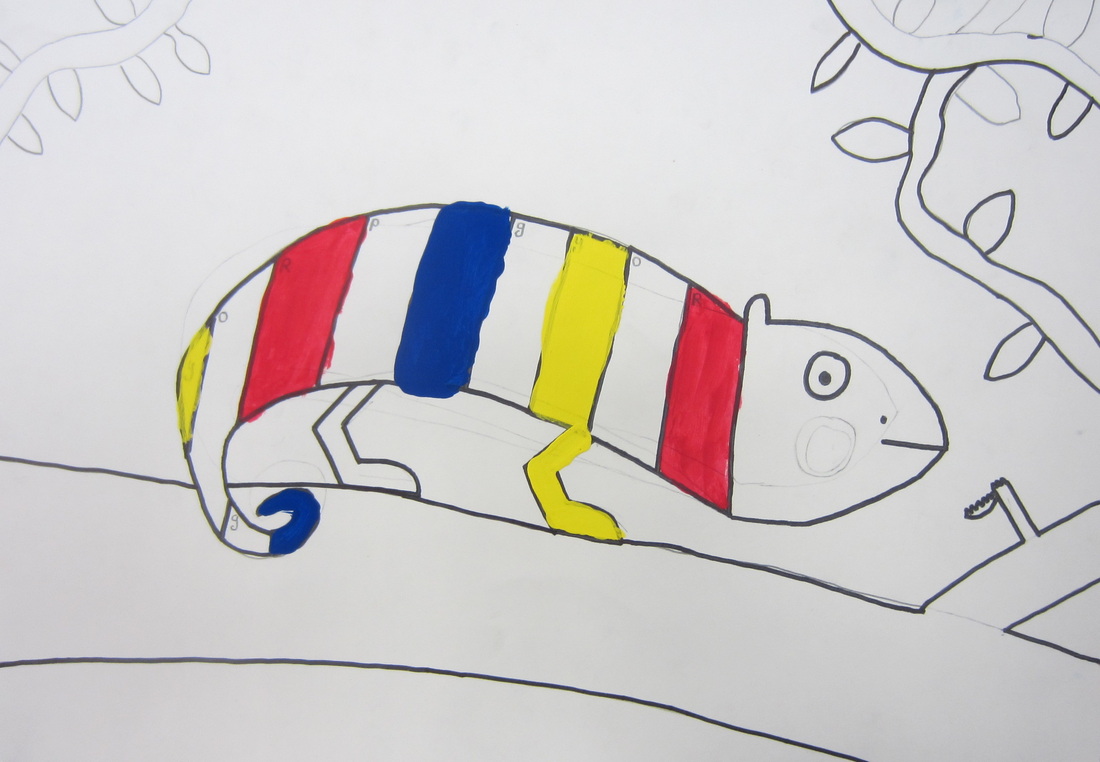
The 3rd grade is just finishing up this lesson on Radial Symmetry. In their classroom, they learned about symmetry so we are taking that information and using it in art.
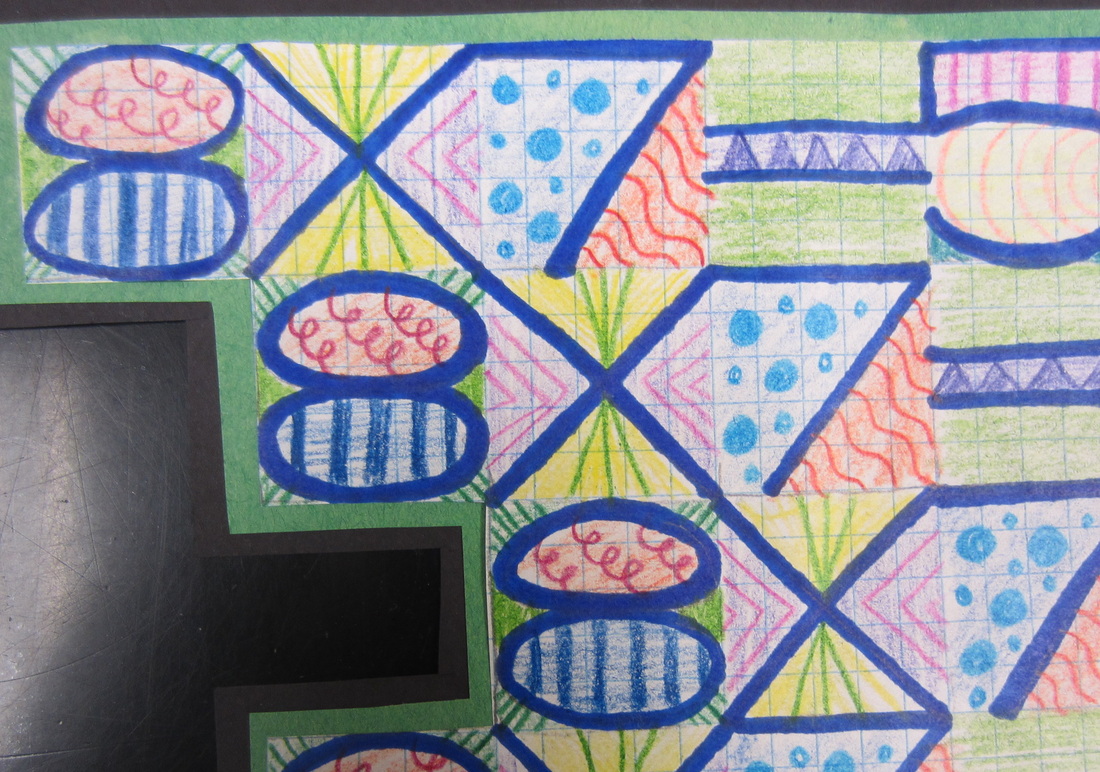
1. The students first trace a circle and split the circle into 8 equal parts using a black sharpie marker.
2. Then they cut out a paper triangle that would fit into each section of the circle.
3. They create a design using shapes, lines and their name, if they want.
4. They then tape this triangle to the back of the paper and trace this triangle over and over again.
5. They color first with sharpie colors and then out line everything with a black sharpie marker.
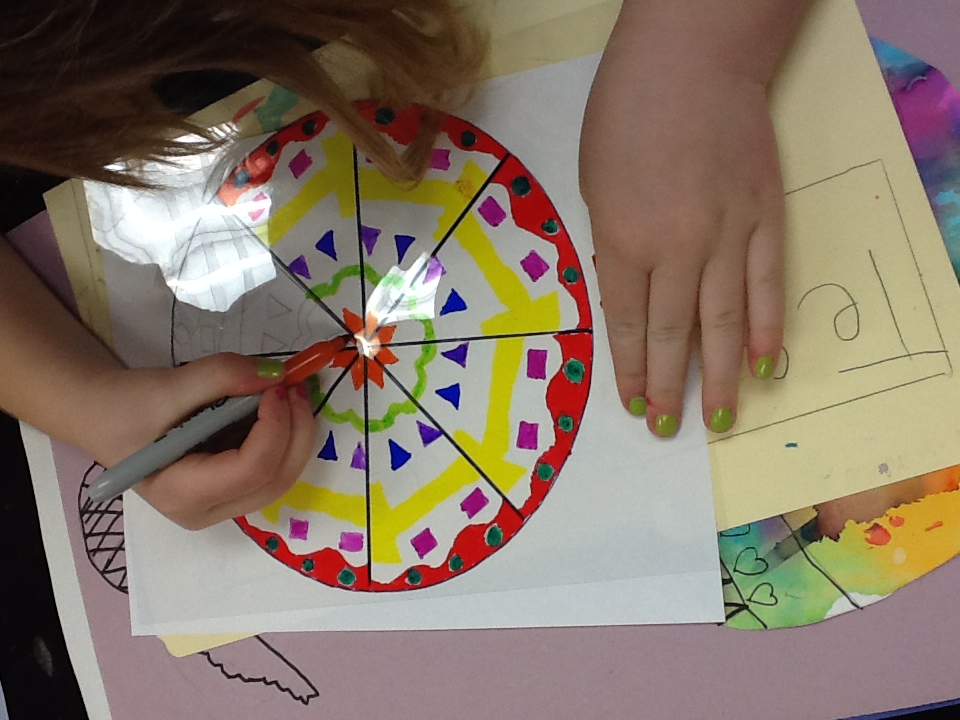


 RSS Feed
