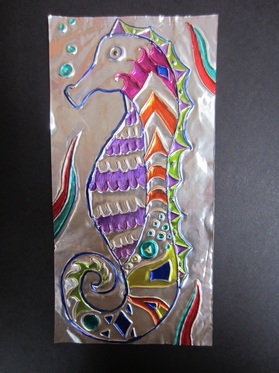
| 5th Graders have been working on animal carvings inspired by artwork found in Oaxaca, Mexico. Students first draw their animal on paper - they choose a realistic animal that has unrealistic patterns Once done with paper, they get a piece of metal foil (it's thicker than aluminum foil, around 36 gauge) They lay the metal underneath the paper drawing and use a pencil to redraw everything. By redrawing everything, students create an indent in the metal - This is also called Embossing. They colored the flipped side of the metal (the side that has the raised patterns) with sharpies using unrealistic colors. 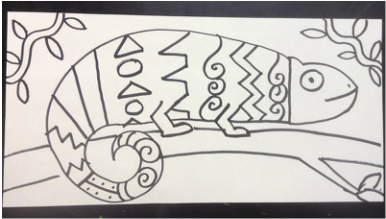 Draw your animal  Metal goes underneath the paper drawing | 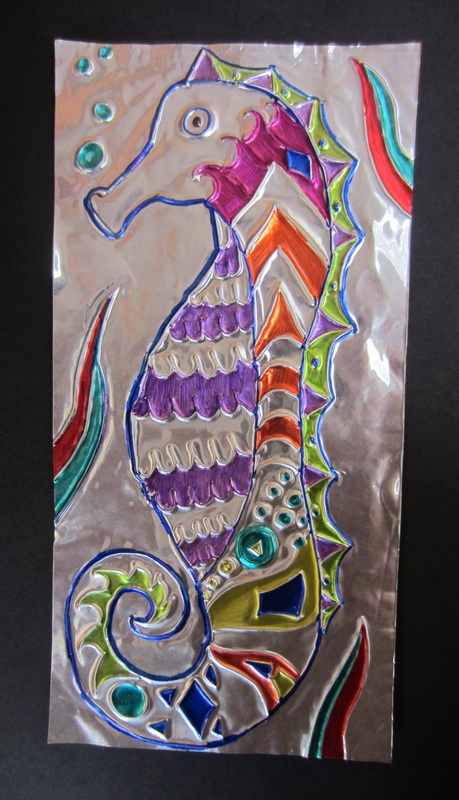 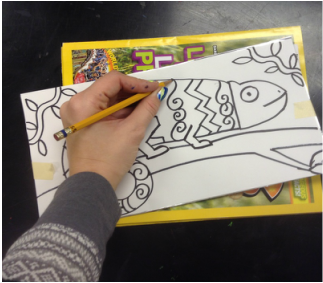 Tape metal and paper together. Use your pencil to carve. Magazine goes underneath when embossing. |
|
1 Comment
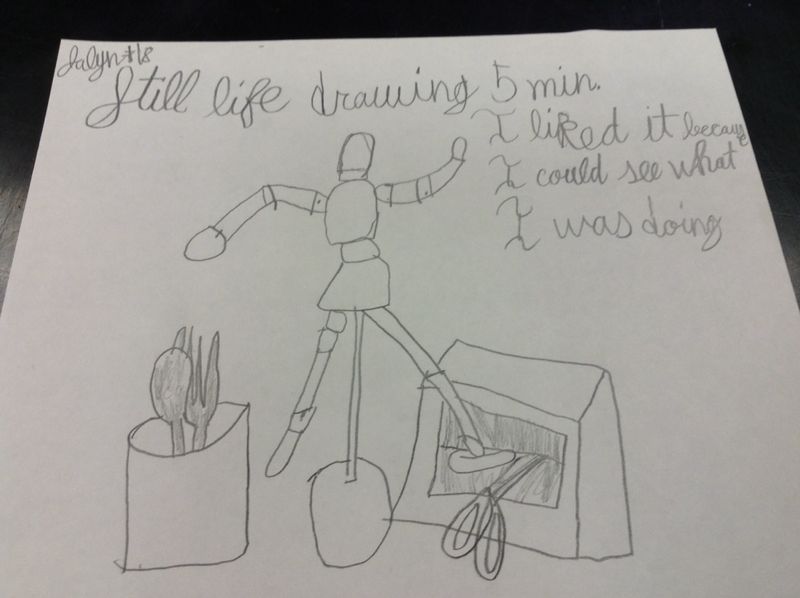
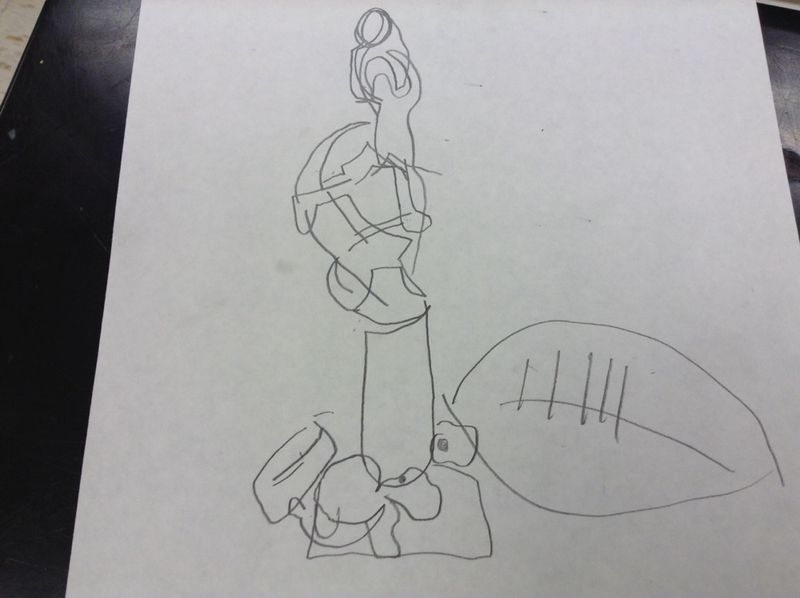
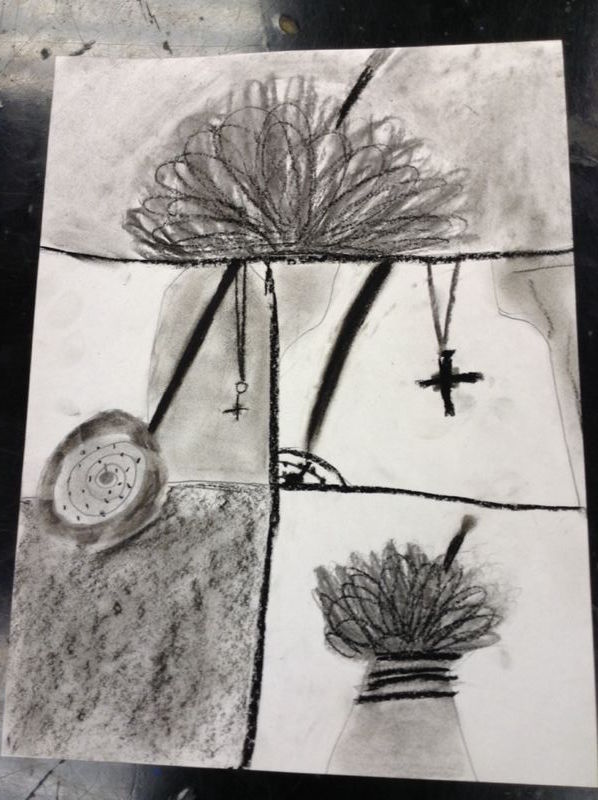
The 5th graders are able to bring their iPads home with them so I thought it would be fun for the students to use their iPads to take a photo, a Still Life Photo. Students will choose from their home 5 objects, arrange them together to take a still life photo. In art class, we drew their still life 3 times, in 3 different ways.
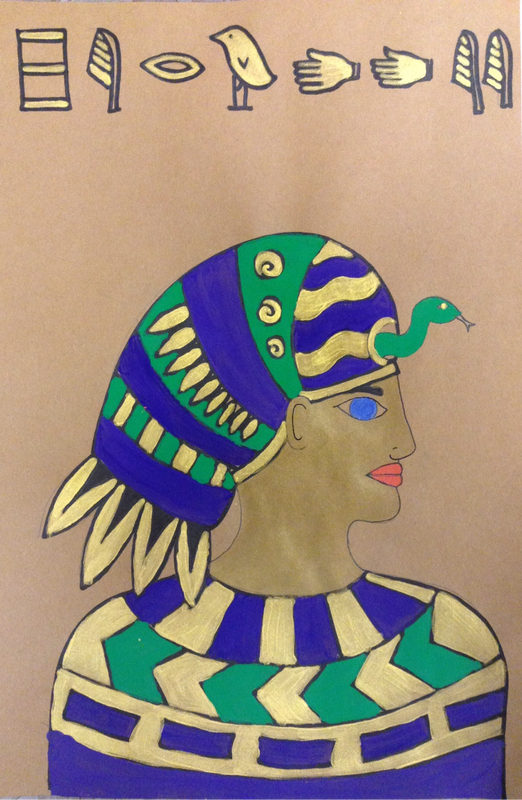
I pass out 2 handouts, one about hieroglyphics and one that shows how to draw an Egyptian Portrait. Students must decide to do either a profile (side) portrait or a forward facing portrait. I created a face tracer to eliminate the teeny, tiny faces that are usually drawn. Students draw the rest themselves: eyes, nose, mouth, headdress, patterns and hieroglyphics. Materials: Pencil First, Outline in Sharpie and Regular Tempera Paint PLUS Gold Metallic Paint
 WOW! I am behind! The end of the year keeps getting crazier and crazier with Field Trips, Clay Art Lessons and Concerts, there is not as much time to update my blog.
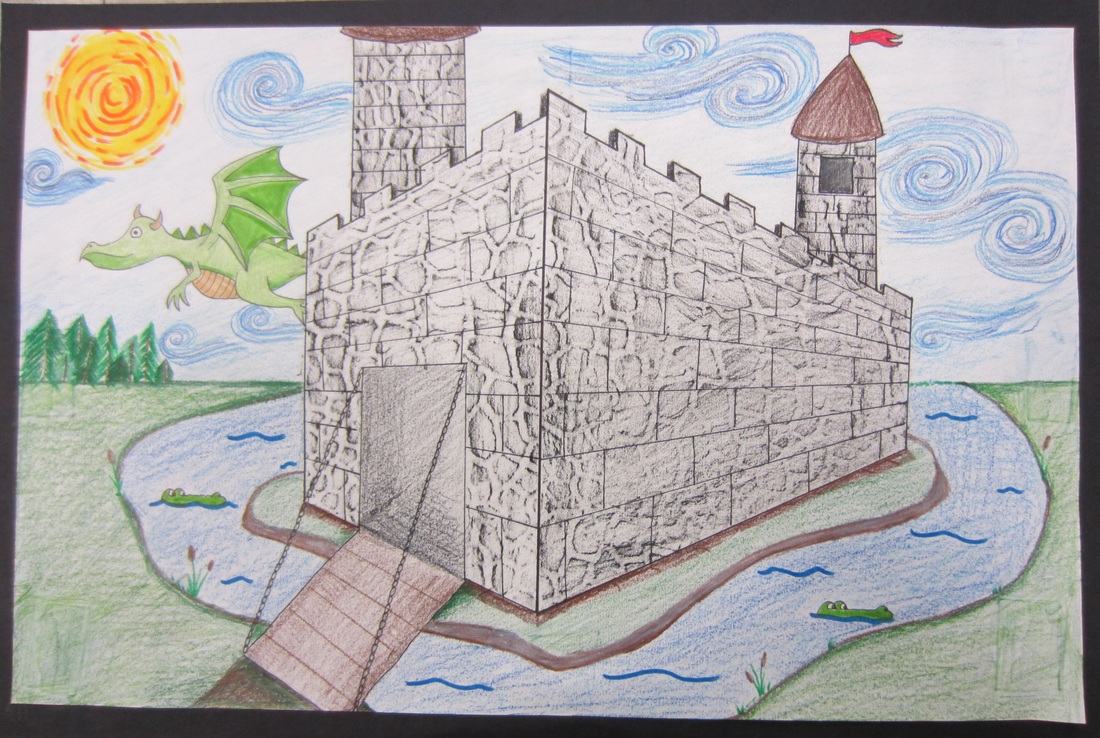
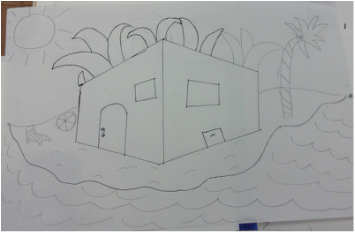
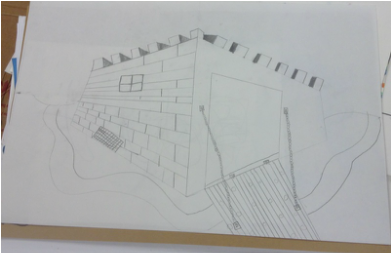
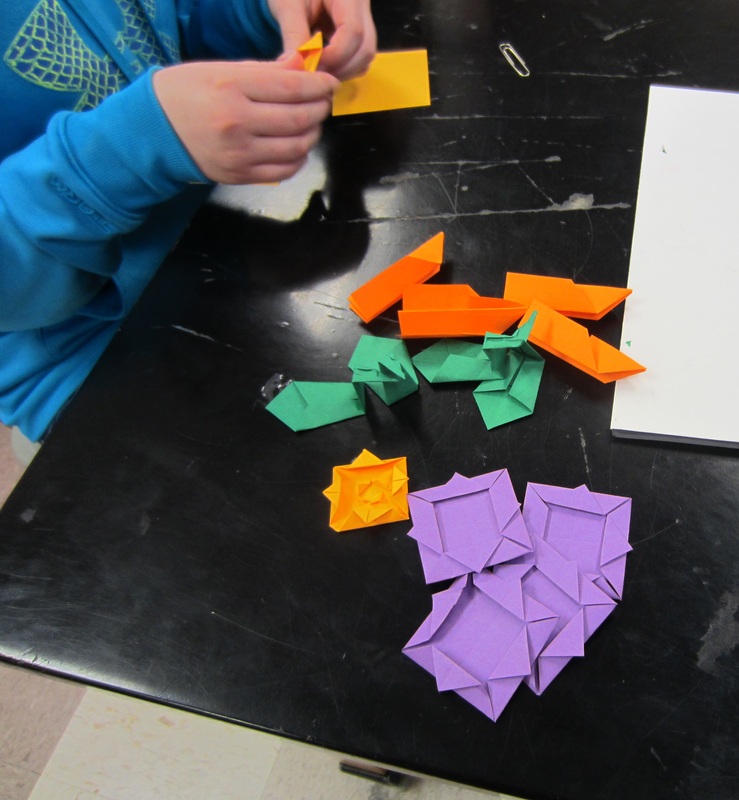
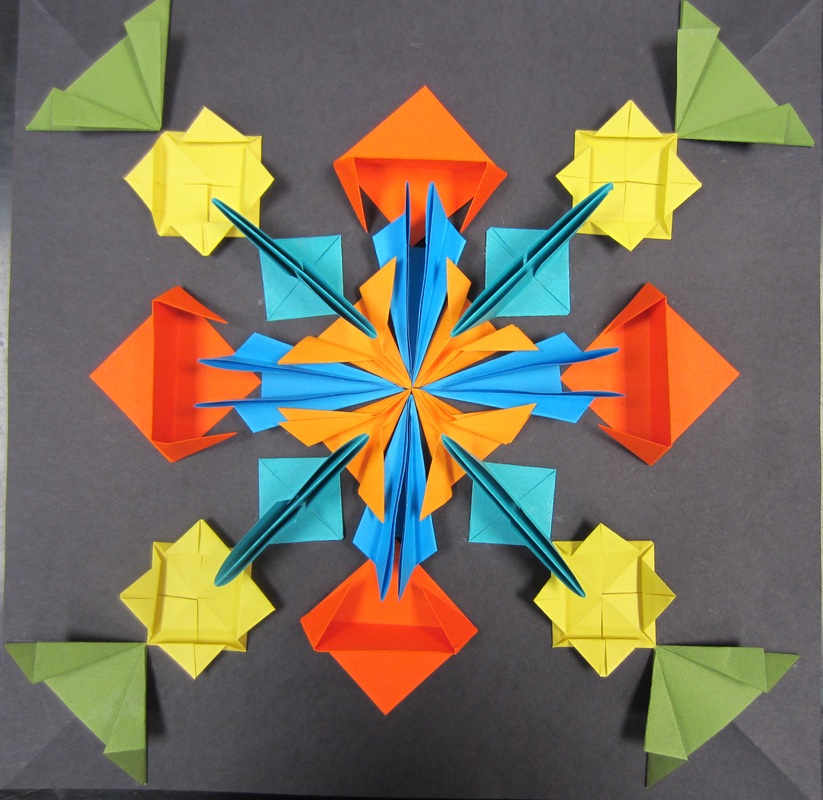
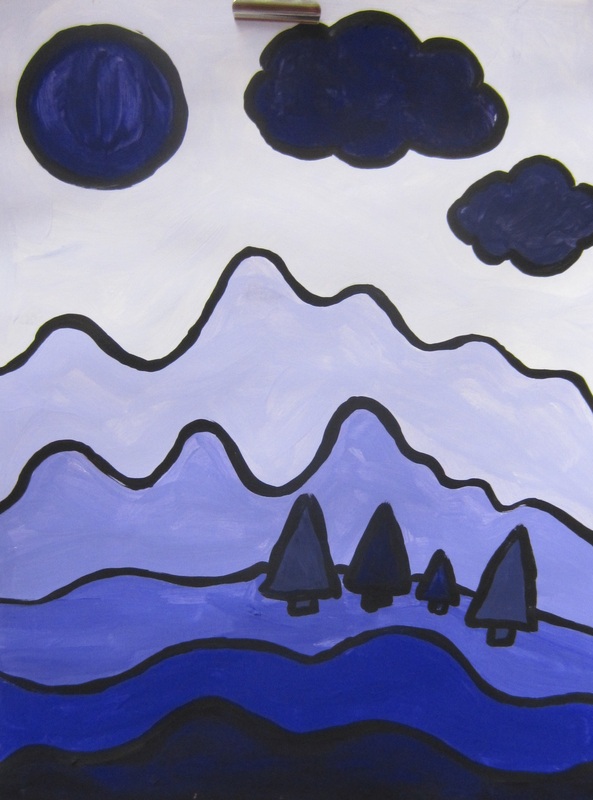
The 5th graders finished in March their 2 Point Perspective Castles. Because of time, they were only required use a pencil. The students needed to create space by using 2 point perspective correctly. They also need to show value and texture on their castle.  The 5th Graders have been obsessed with Origami lately so I finally gave in and am doing an origami based lesson but with a twist. The 5th graders must use their Origami to make Radial Symmetry. The may either use the origami that I show them or they can come up with their own. They must use the same color and do the exact same origami - then they place & glue them in the correct sections on their black paper. Below are 5 videos of examples of some of the origami they can use. Below is a video that shows how to organizing your finished origami
Grading Information
Grades have changed this year for report cards, art is included in the change. Art now has 2 grading areas: Skill and Participation. • Grading SKILL refers to students meeting the goals and outcomes that I have specified. The goal is located on my white board as an "I Can" statement. I use their artwork as their assessment by seeing the end result and observing them in class. • Grading PARTICIPATION refers to contribution to art. Is the student having a positive or negative attitude? Are they using their time accordingly? Is the student's participation consistent to what is expected of them? The grading marks are: E = Exceeds - Going above and beyond. Grade level MASTERY of the outcome M = Meets - Student is SECURE in meeting the outcomes that I give them. P = Partially Meets - Student is partially secure. Student doesn't meet grade level expectations for this outcome but is close to meeting. D = Does Not Meet - Student does not meet grade level expectations for this outcome  To build and review on their 4th grade knowledge, we are creating one point perspective collages. Later in the year, we will be learning about 2 point perspective.
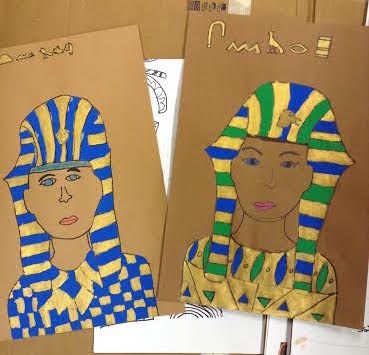
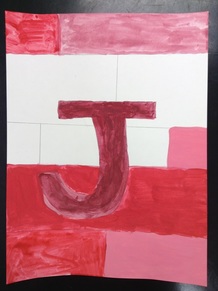
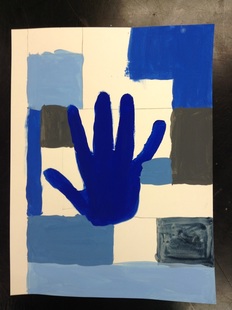
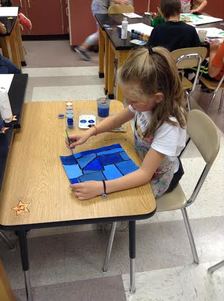
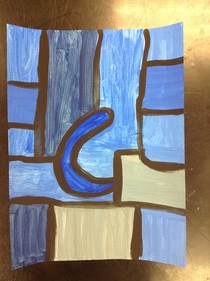
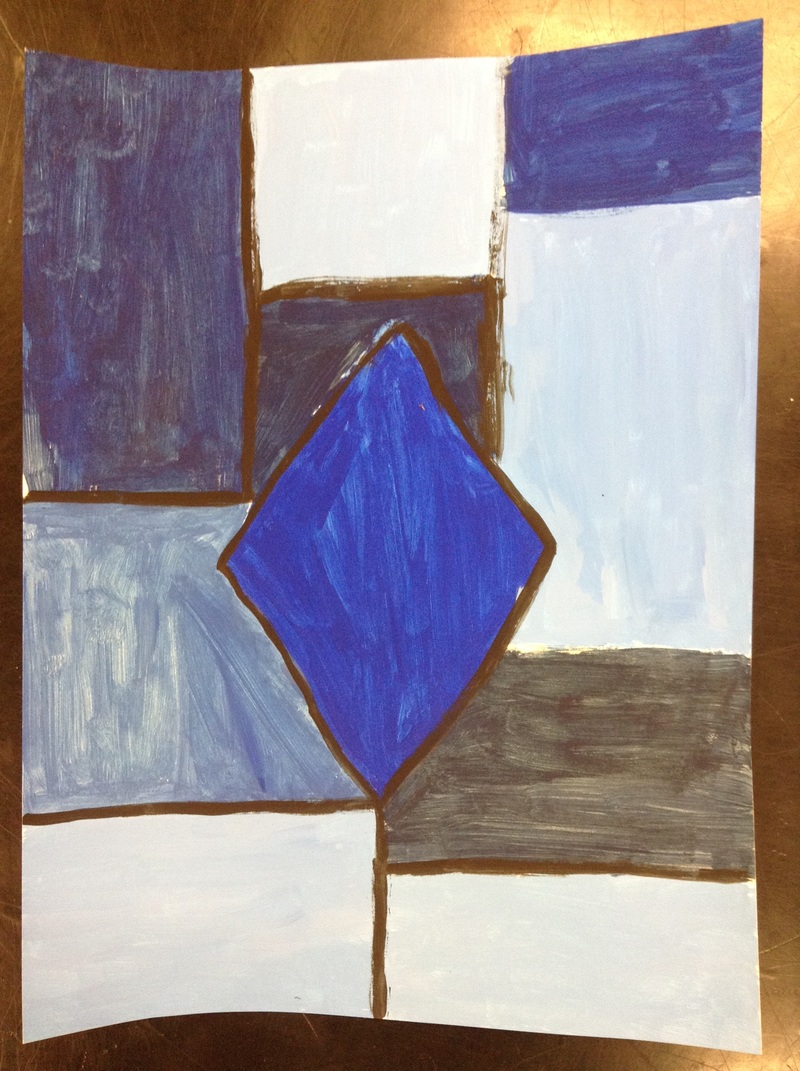
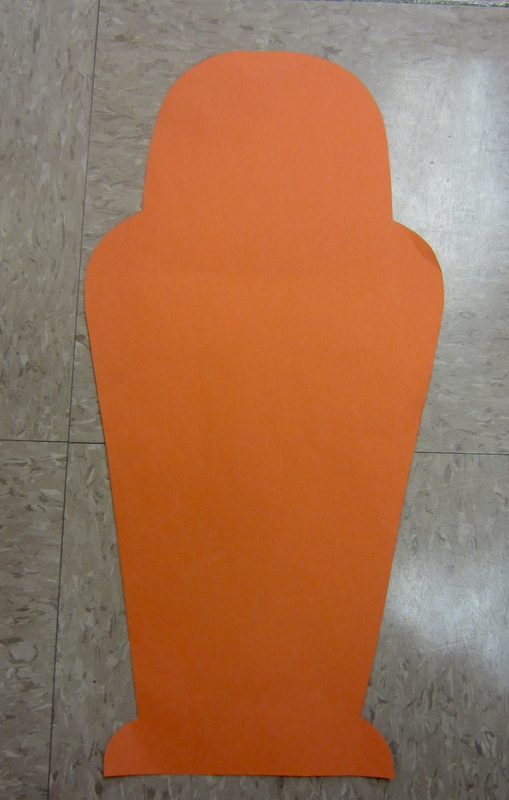
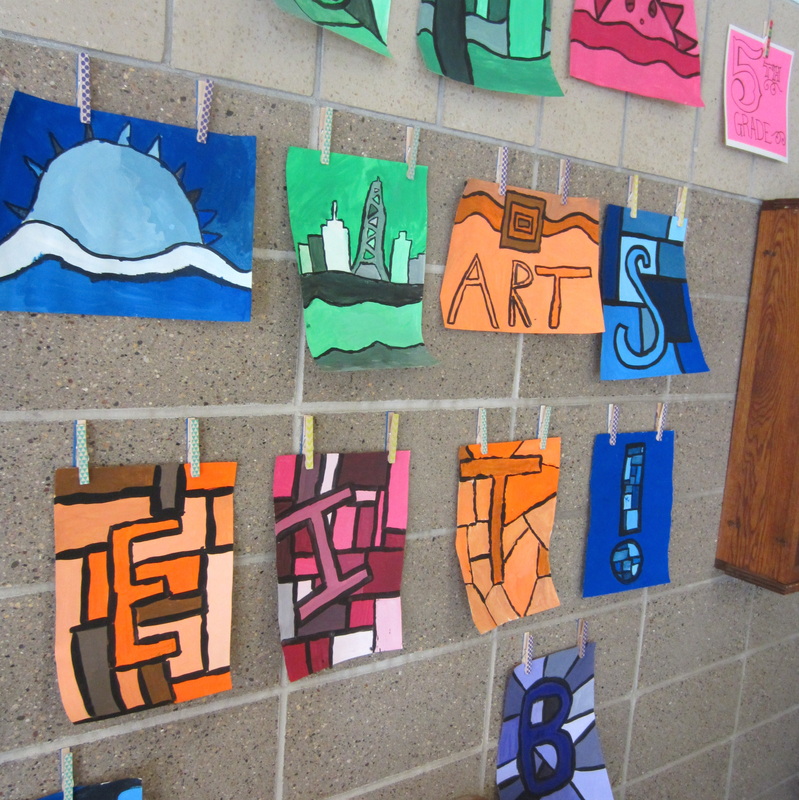
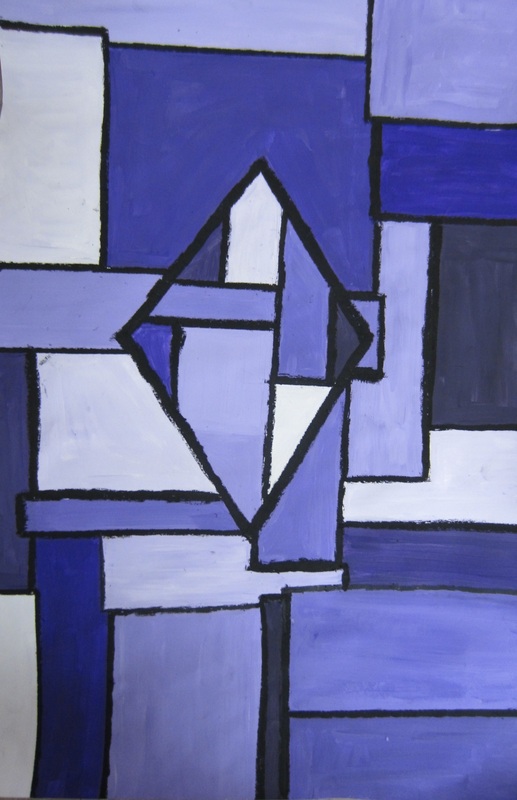
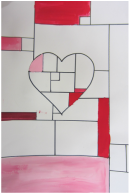
Last year, we created names using perspective. This year we are starting with shapes but adding them onto a magazine collage that has a color scheme. Some color schemes they can choose are: • complementary, warm/cool, neutral, analogous • 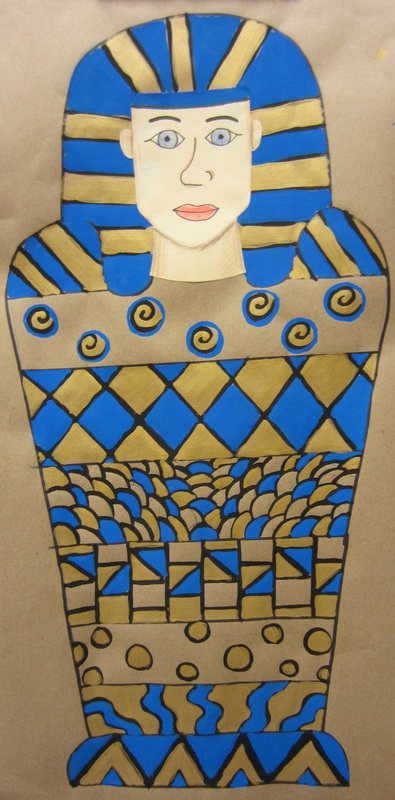 5th Graders are creating their own Egyptian Sarcophagus or Sarcophagi (the plural term) Step 1: Outline the sarcophagus shape Step 2: Each Sarcophagus will have a headdress on - create that shape Step 3: Draw out Patterns, Symbols and Hieroglyphics - then outline in black paint Step 4: Fill in the spaces with Blue & Gold Step 5 - Draw out, on a separate piece of paper, a portrait. Glue it on and add a painted horizontal line on the top of the face. Step 6: Cut out Sarcophagus  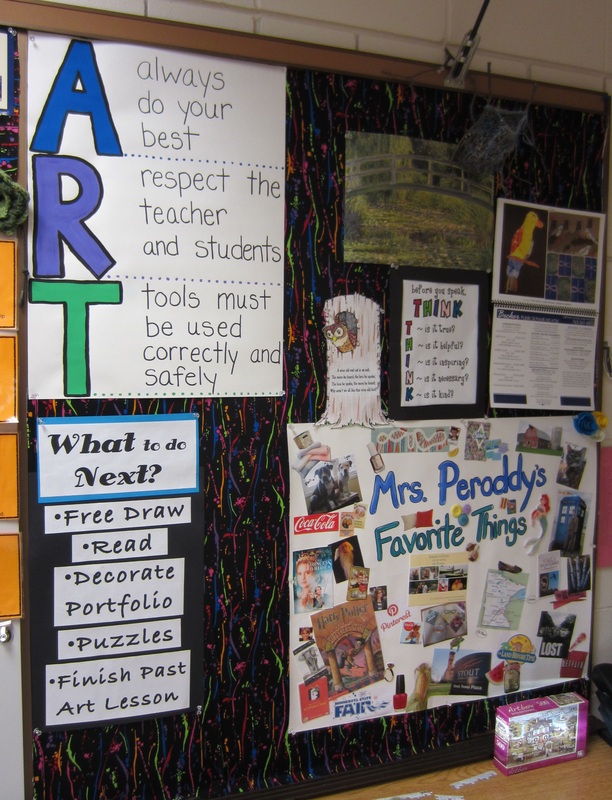 Well, it's only taken me a month to finally have time to post some images and lessons but I had to start sometime! Since I got married this summer, I had to change out some things in my classroom that had my maiden name on them (Dahlgren) to my married name, Peroddy. Peroddy rhymes with Karate, that's what I tell my students! I decided to revamp my whole bulletin board. The art room rules - they spell out the word A.R.T. A "What to do Next" poster, so kids have options if they finish early and know what to do. I also have a "Mrs. Peroddy's Favorite Things" poster so students can learn more about me when lining up. 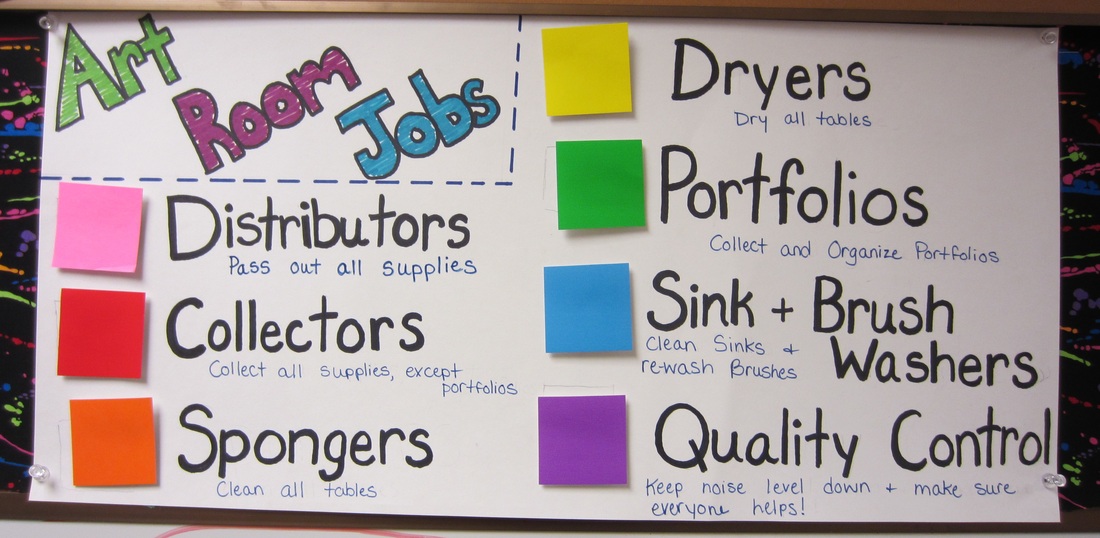 I also have created an Art Room Jobs chart to manage clean up in the art room. I have 7 table in my room, each with a different color. Each month, each table has a job whether it's washing tables or collecting portfolios. I am liking this clean up procedure better than just have each table clean up their space. They each have a job to do and have to work together as an entire class to make it work.  Art Marks on the Art Chart so we stay Art Smart! I keep track of how the days go in art for each class. Each class works together to earn rewards for each Trimester. Green is a Good Day. Yellow is an Okay Day. Red is a Not Good Day. 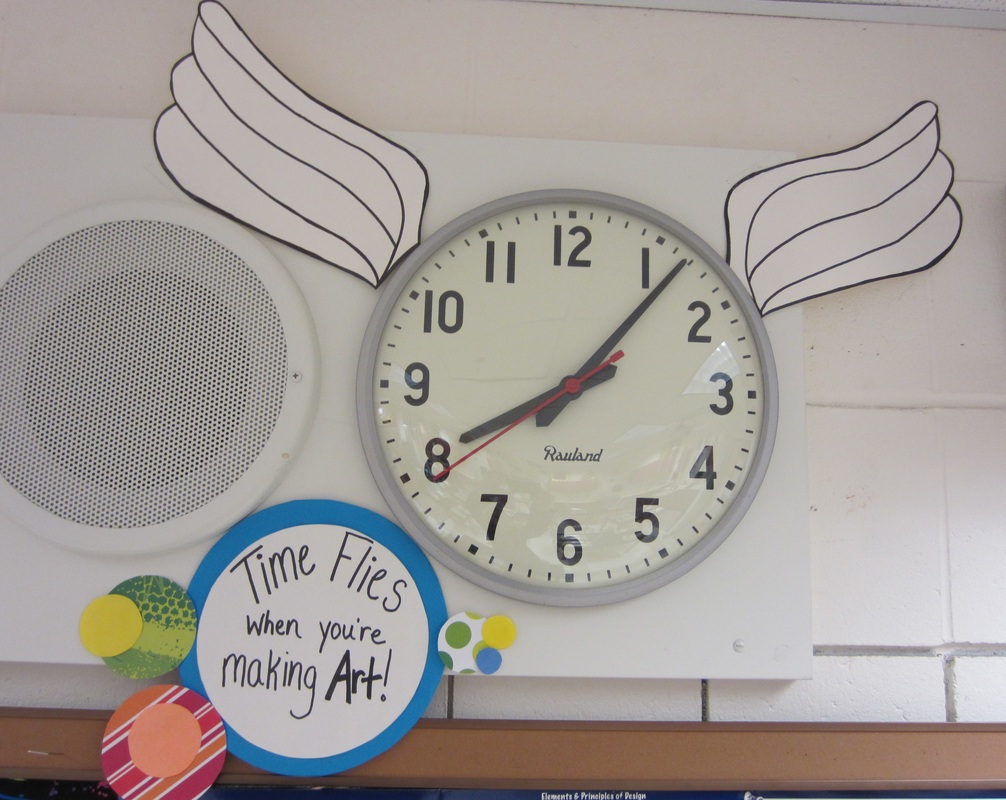 I added wings to my clock to remind students how "time flies" in art!  Finished Castle Finished Castle The 5th graders are starting the challenging but rewarding process of 2 point perspective. Using this technique, they will create a 3-Dimensional looking castle.
During this lesson, I talk at first, explaining the difference between 1 point perspective and 2 point but then we work step-by-step to get everything correct.  5th graders are starting to learn about Middle Eastern design called Arabesques. Arabesques are a symmetrical design that has organic and geometric shapes found in architecture. They will be embossing (carving) into a piece of metal foil with a pencil and then coloring it in with sharpie markers. They must select certain colors to create a color scheme - color schemes they can choose from- Primary, Secondary, Complimentary, Analogous, Warm, Cool or Neutral Colors.  Student's Example with a Complimentary Color Scheme |
Categories
All
Gail Peroddy
I'm in my 6th year teaching art in Becker, MN. Time has really flown by! Wowza! Archives
April 2016
|


 RSS Feed
