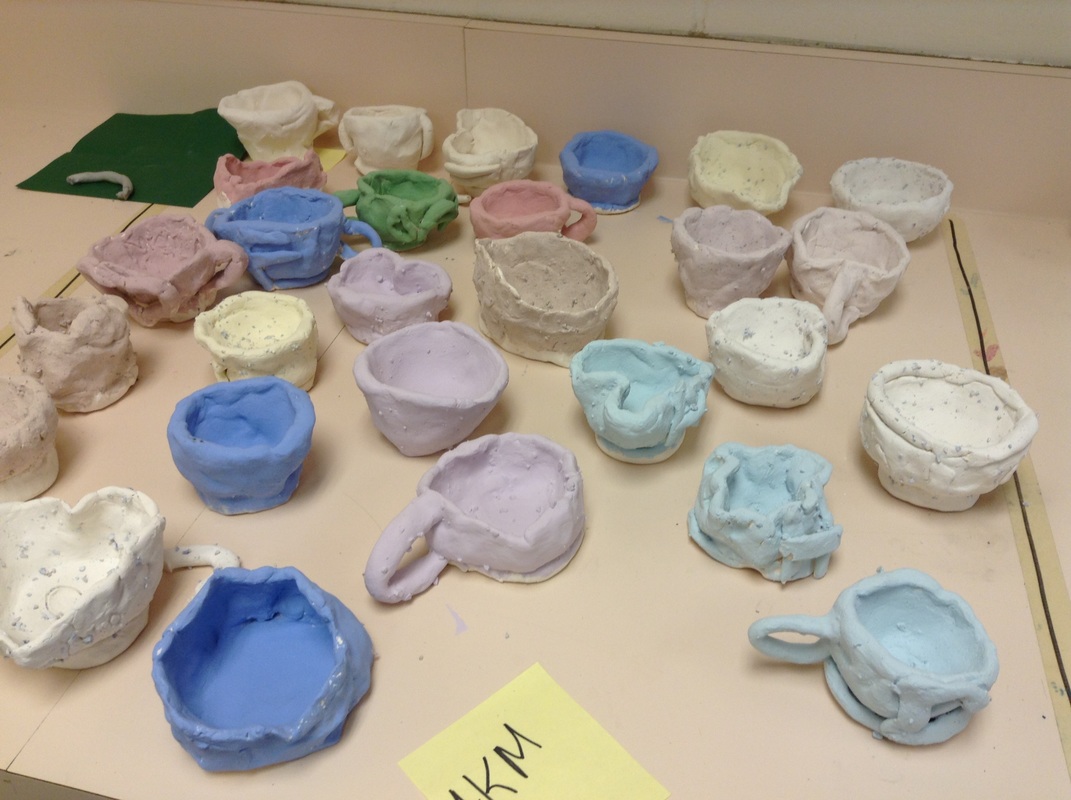
 Pinch Pots that have glaze but not been in the kiln a second time 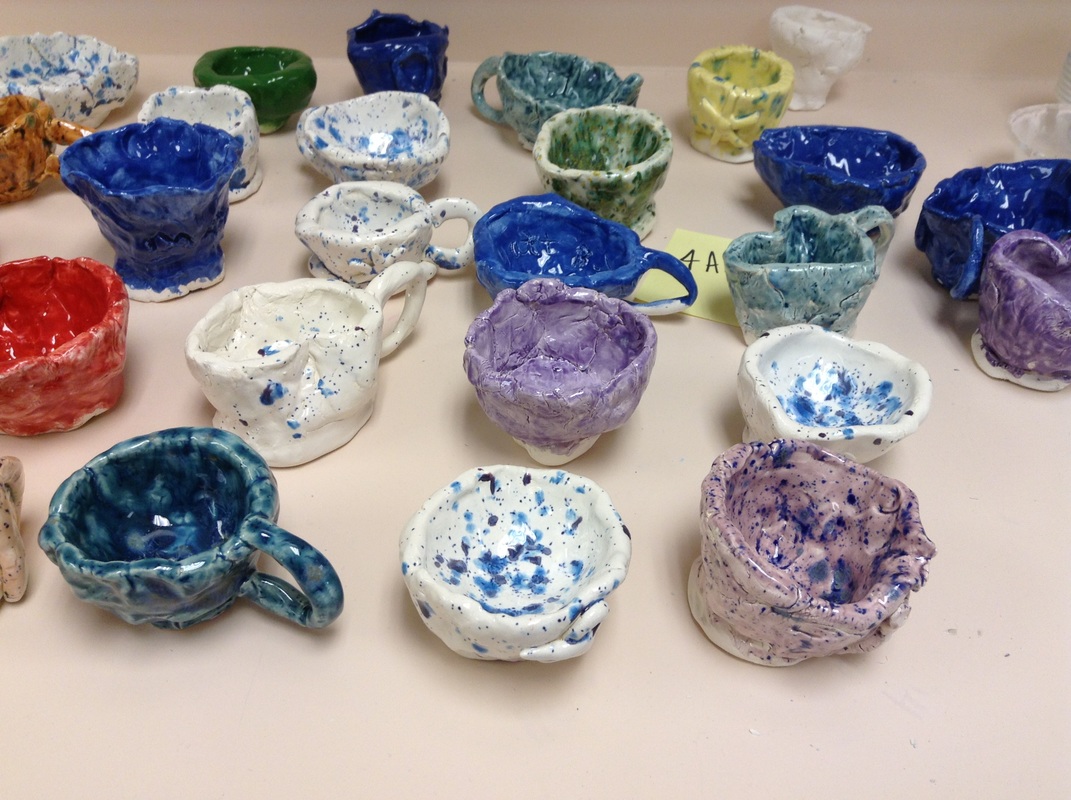 Finished Pinch Pots | The 4th grade has started to create clay pinch pots. Each student is given a ball of clay, which they will pinch into a bowl. Students will also add a "pedestal" or support to the bottom of their bowl by scratching and attaching. Making the pinch pot will only take one art time. After the pinch pots dry for a week, I put them in the kiln for the first firing called a bisque fire. Once students get their pots back they glaze their bowl. This also takes will take one art time. After the first firing, we apply the glaze and I fire the bowls one more time so the glaze turns into a glass coating. |
|
1 Comment
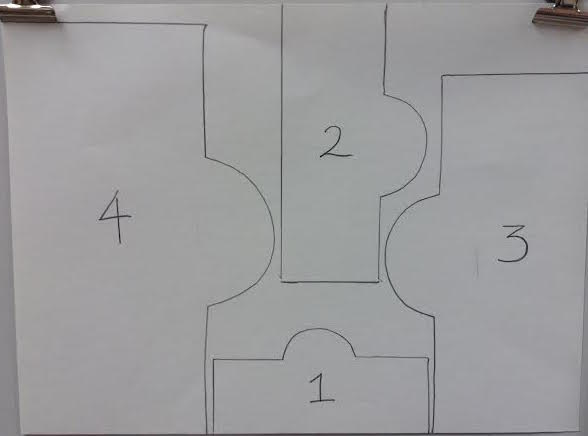
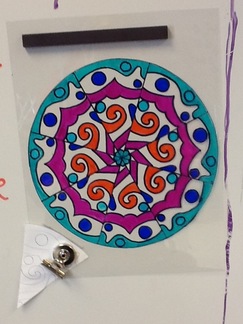 The 3rd grade is just finishing up this lesson on Radial Symmetry. In their classroom, they learned about symmetry so we are taking that information and using it in art. 1. The students first trace a circle and split the circle into 8 equal parts using a black sharpie marker. 2. Then they cut out a paper triangle that would fit into each section of the circle. 3. They create a design using shapes, lines and their name, if they want. 4. They then tape this triangle to the back of the paper and trace this triangle over and over again. 5. They color first with sharpie colors and then out line everything with a black sharpie marker. 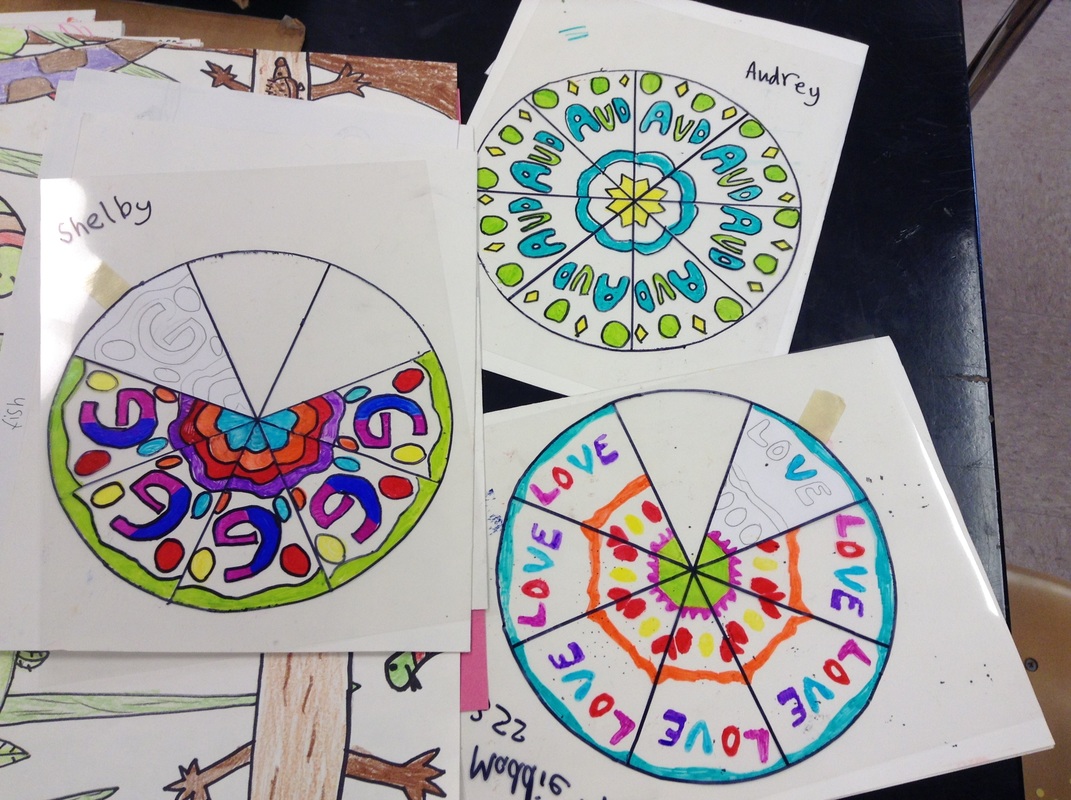
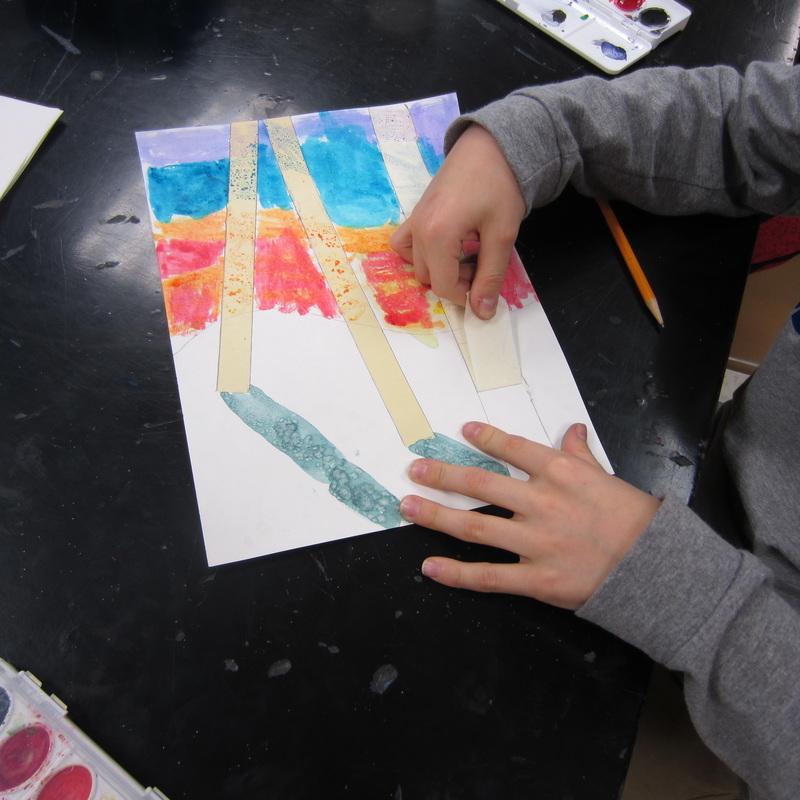
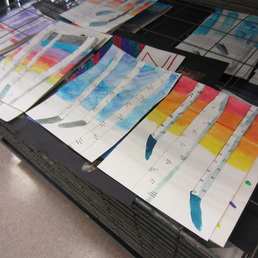
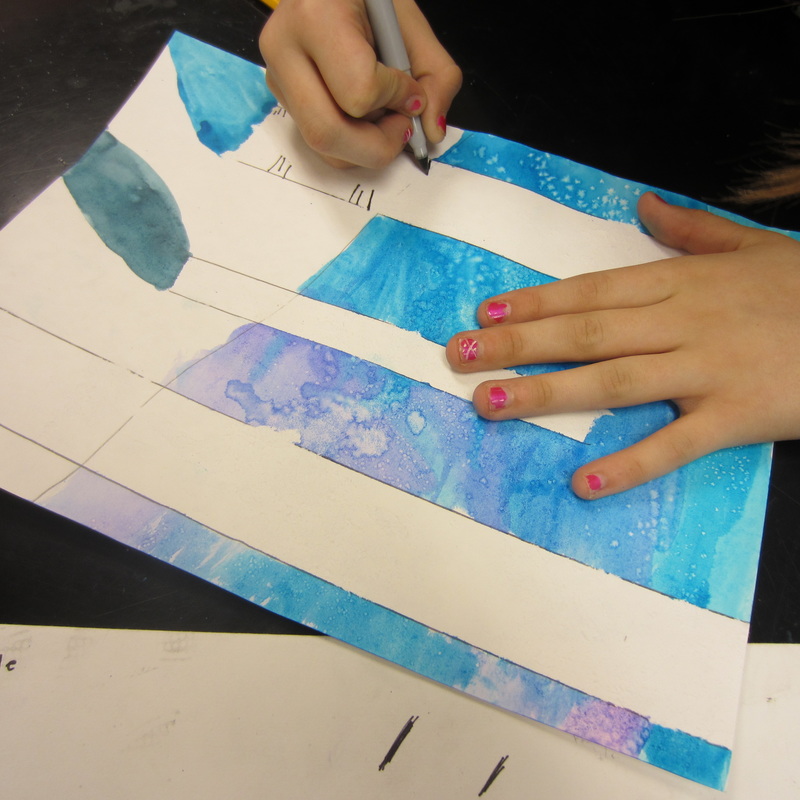
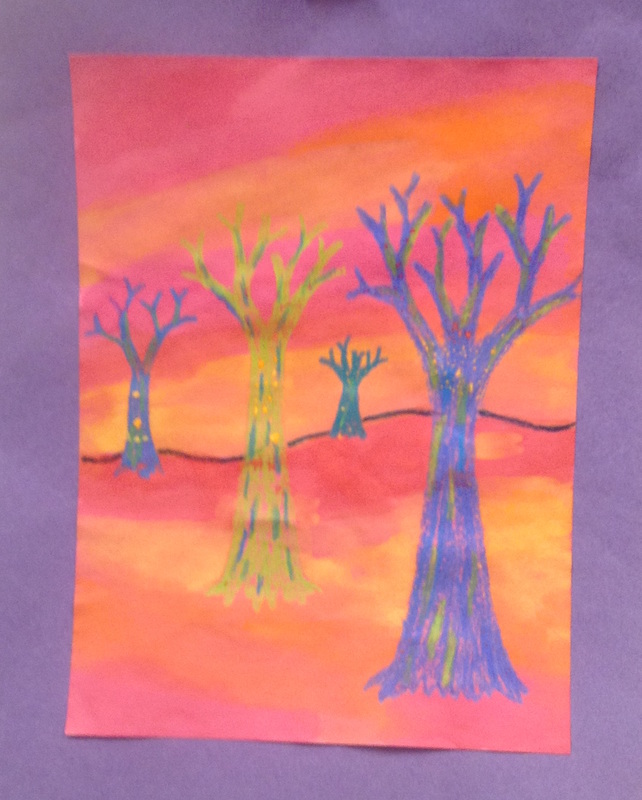
 The 4th graders have started making a landscape of Birch Trees. Their trees need to show space by using foreground, middle ground and background correctly. The students will be using masking tape to make their trees. Once they finish taping their trees they will use watercolors to paint their sky. If you look at the sky closely, you'll notice it had a marbled texture. This texture is created by using salt. When the watercolor paint is still wet sprinkle some salt ontop and the salt will absorb some of the paint! So cool, so simple! The ground will be left white, so it looks like snow, except they will be painting shadows for the trees. After the watercolor had dried they will peel off the tape to reveal a white birch tree. Then students will draw black horizontal lines to complete their birch trees. They will also paint half of the tree a light gray to show value When we create this landscape, I also like to talk about how important the Birch Tree is the Native Americans. The birch trees are a very important part of the Native American culture, especially the Ojibwe tribe. Native Americans use the birch bark to make containers, wigwams and canoes.
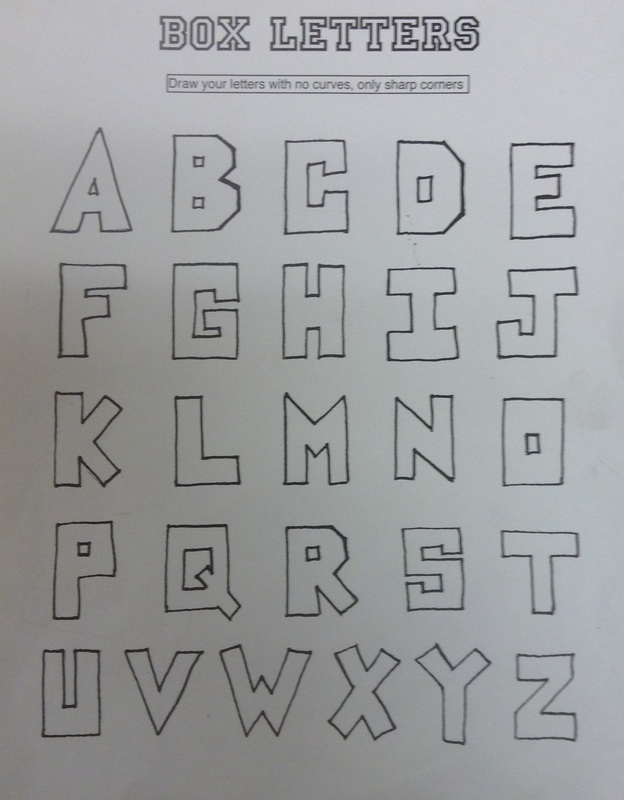
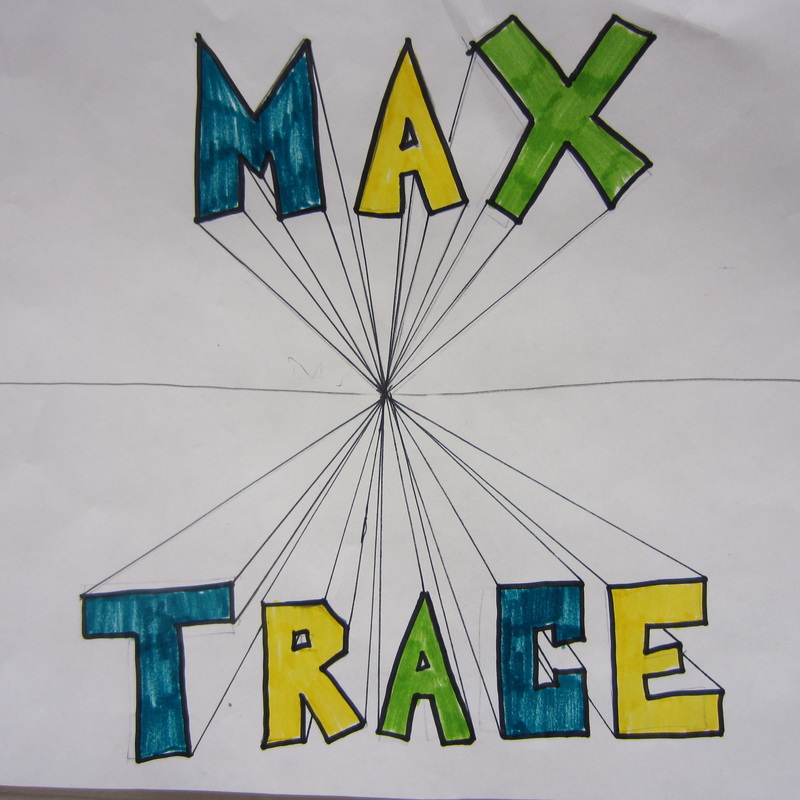
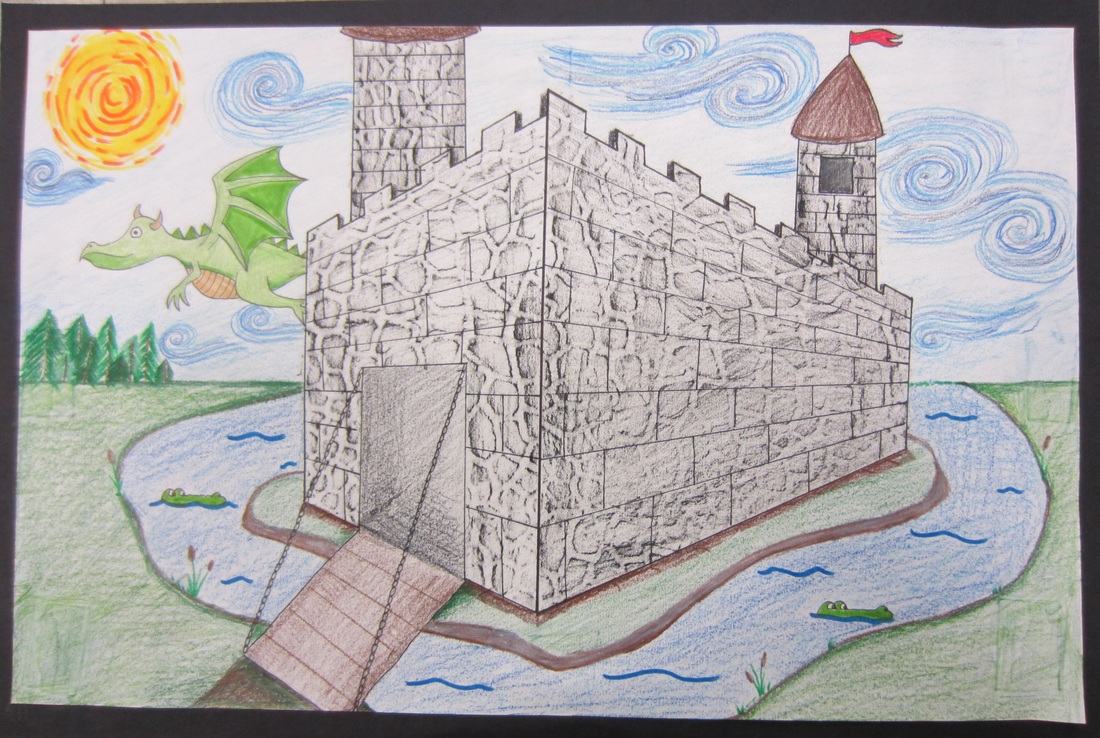
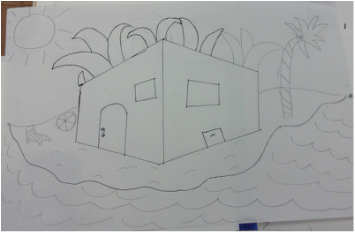
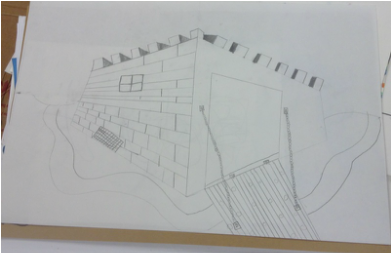
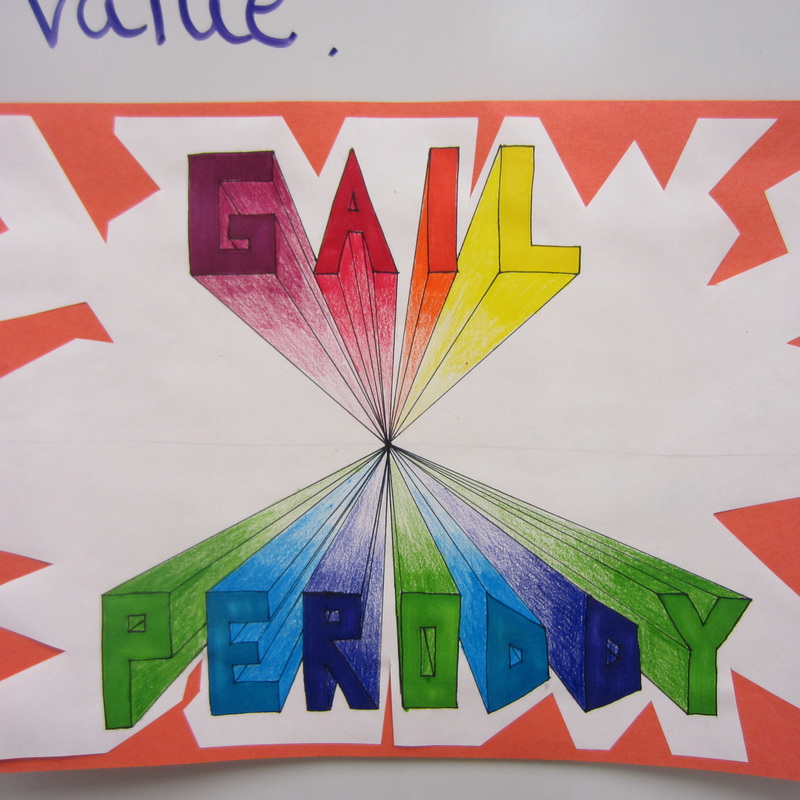 The 4th graders have started to make two words look 3-Dimensional by using 1-Point Perspective. I start by having the students draw their name in BOX letters, outlining it with black sharpie markers and then coloring it in too. Below, is the handout that I give the students to show how to draw box letters. Then they draw a vanishing point. This point is where all of the lines will disappear to. All corners, unless they run into their letter right away, are connected. If the eventually run into a letter, they stop. They first draw in pencil and the outline the lines with sharpie pen. They complete this lesson by using colored pencil and show changing VALUE. Value is the light and dark of a color. The value is dark by the letters and slowly gets lighter the closer the color gets to the vanishing point
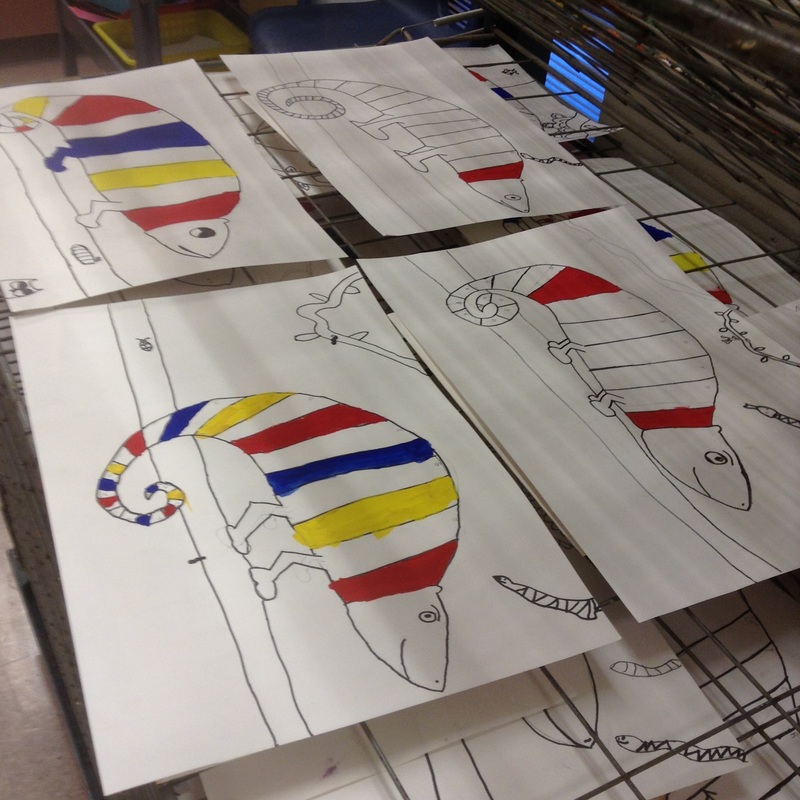
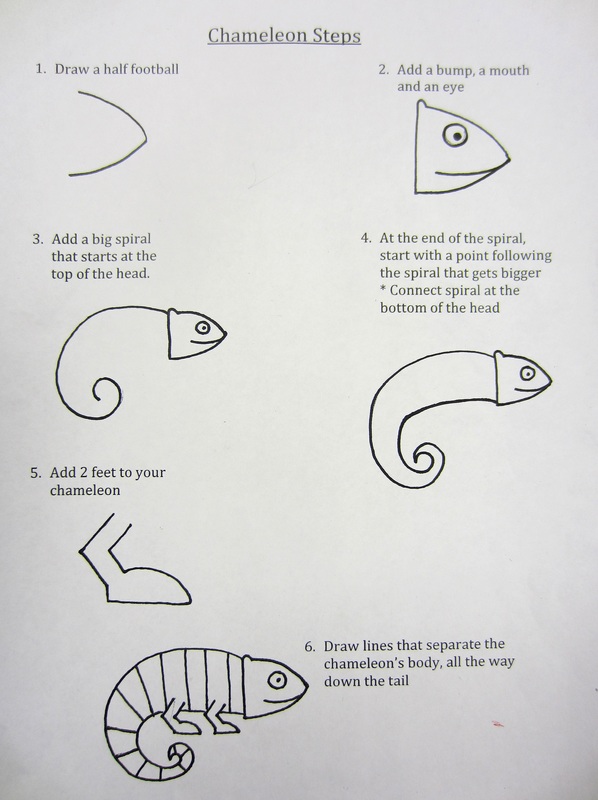
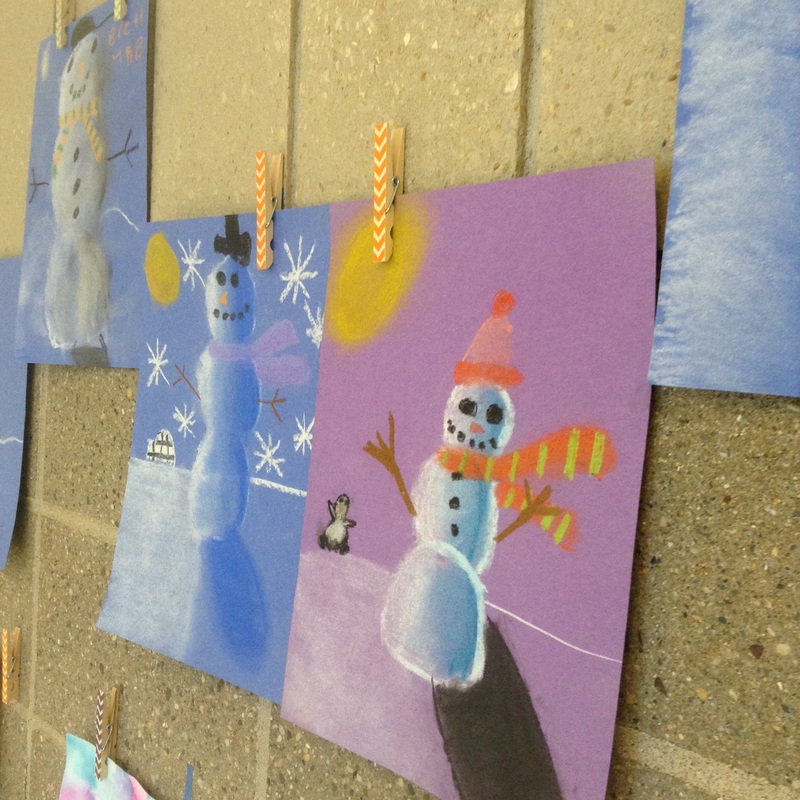
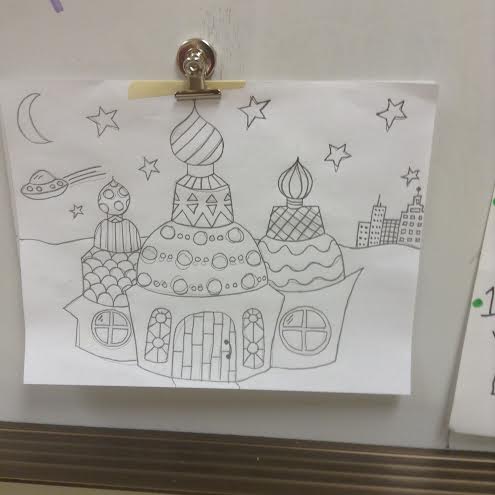
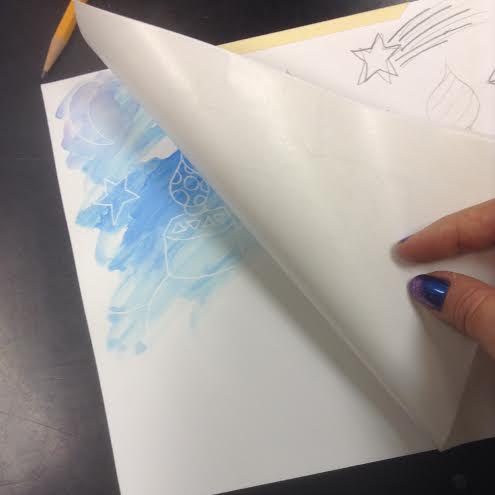
Students will be creating their own Penguin Landscape. We talk about landscapes, horizon lines, shadows and value.
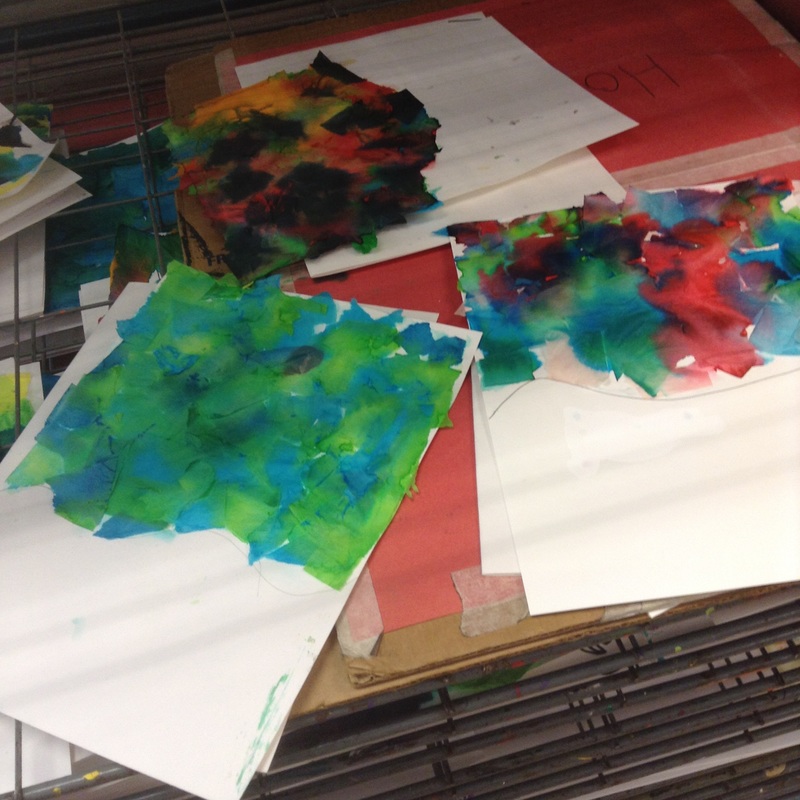 To create the sky on their landscape, students use bleeding tissue paper (my favorite)! They put water on the paper first, then add the tissue paper and lastly they add more water on top of the tissue paper. Once the tissue paper dries, they remove the tissue paper to reveal a colorful sky. 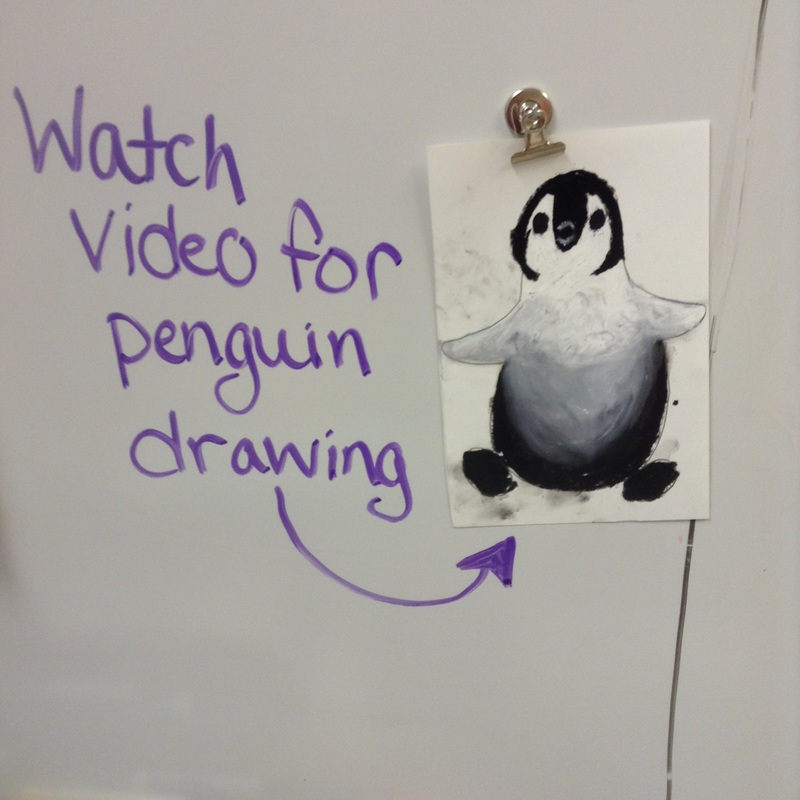 Then on a separate piece of paper they will be drawing their penguins. They will use Black, Grey and White Oil Pastels to blend the color together to show VALUE. When finished, students will cut out their penguin and glue them to the painted paper. When glued on, they will add 2 ovals underneath the feet to create shadows. 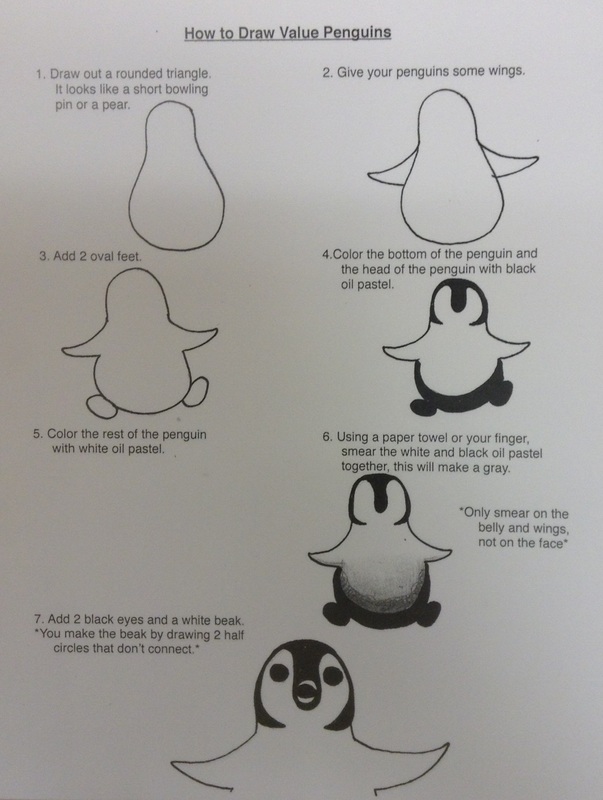 I have included the handout that I give to the 3rd graders to help them break down drawing a penguin and how to draw value. We used oil pastels but this would work with chalk, colored pencils or crayons.
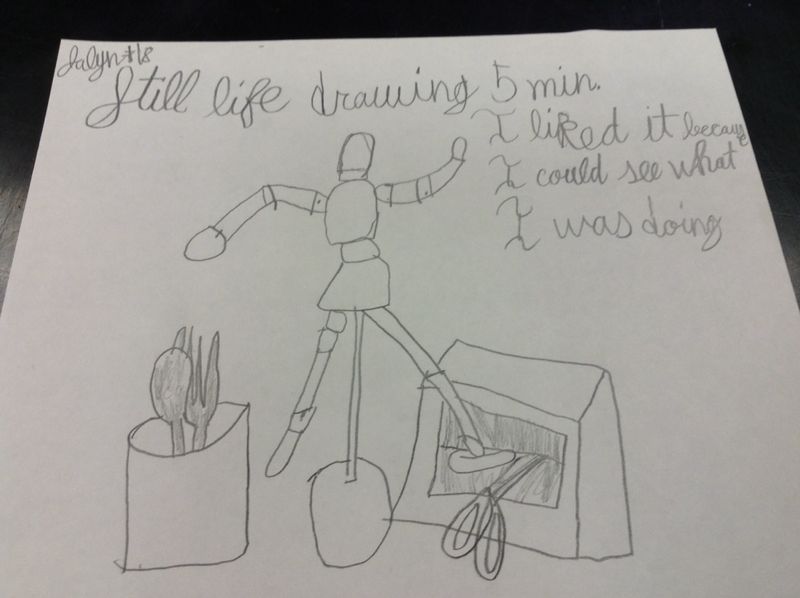
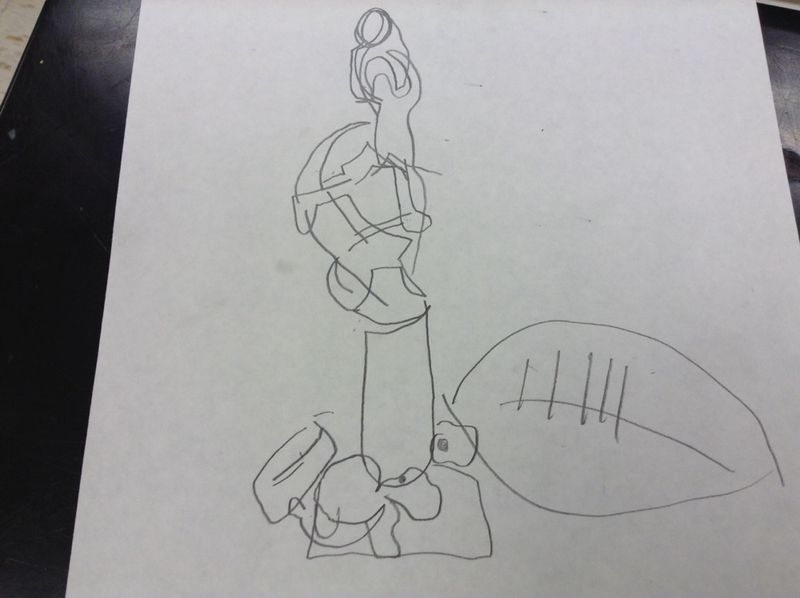
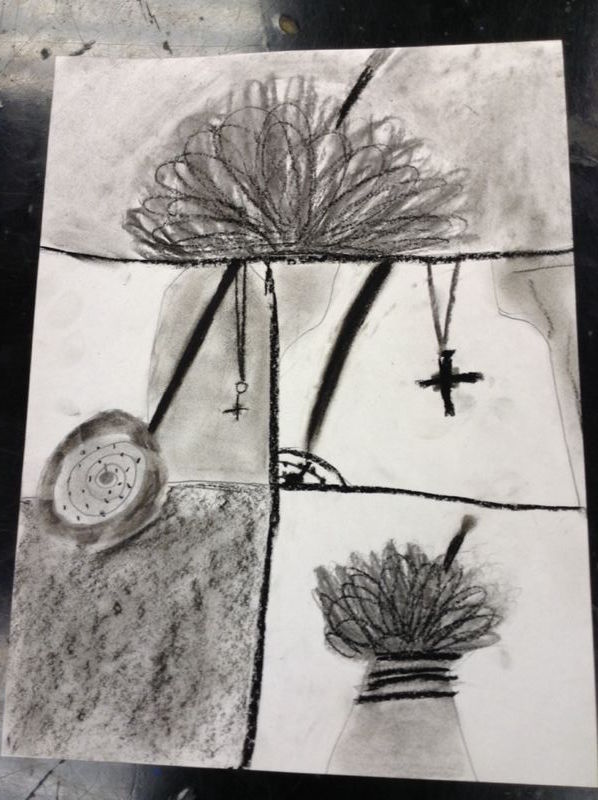
The 5th graders are able to bring their iPads home with them so I thought it would be fun for the students to use their iPads to take a photo, a Still Life Photo. Students will choose from their home 5 objects, arrange them together to take a still life photo. In art class, we drew their still life 3 times, in 3 different ways.
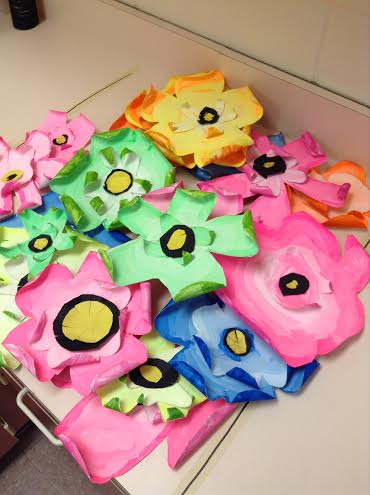 Finished Student Flowers! Finished Student Flowers! The musical director at the High School contacted me about making some flowers to be a part of the set for their upcoming musical, The Wizard of Oz and I thought it was a great idea! All of my 3rd grade classes are making flowers. We are learning about Tints, adding white to a color. Each student chose 1 color and then added that color to white to create different value. We actually drew 2 flowers, one big and one small and then we cut them out and glued them together. We curled the edges of the flower to make the POP out at you! Lastly, we added 2 circles (black and yellow) that had cut slits.
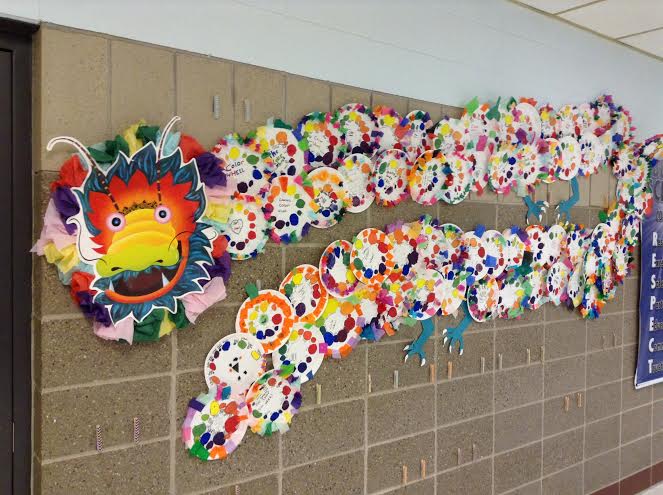
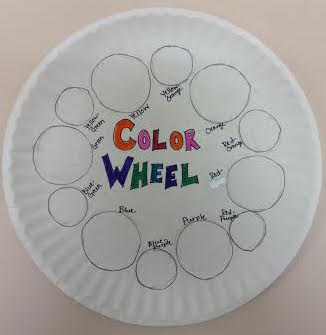
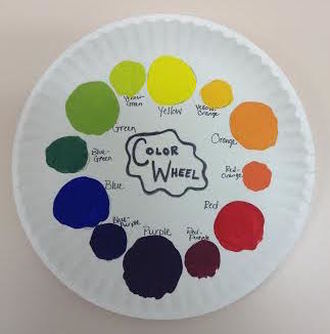
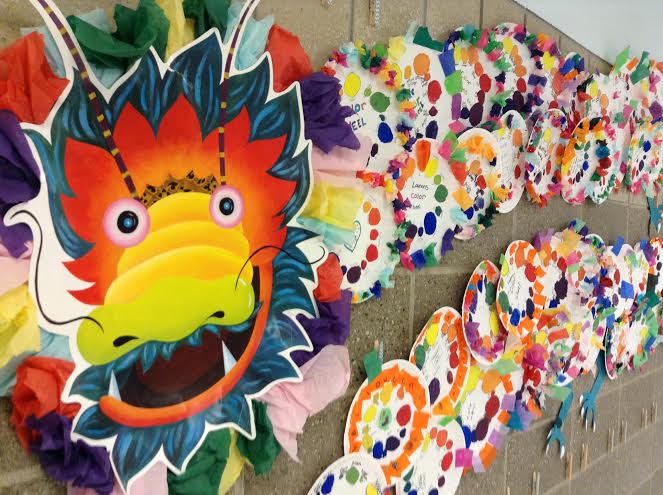
4th Graders make a color wheel complete with Primary, Secondary and Intermediate Colors The first thing we do is draw the circles and label each color - it makes everything easier! Their Color Wheel needs to have: Primary Colors - Red, Blue, Yellow Secondary Colors - Orange, Green, Purple Intermediate Colors - Red-Orange, Yellow-Orange, Yellow-Green, Blue-Green, Blue-Purple, Red-Purple
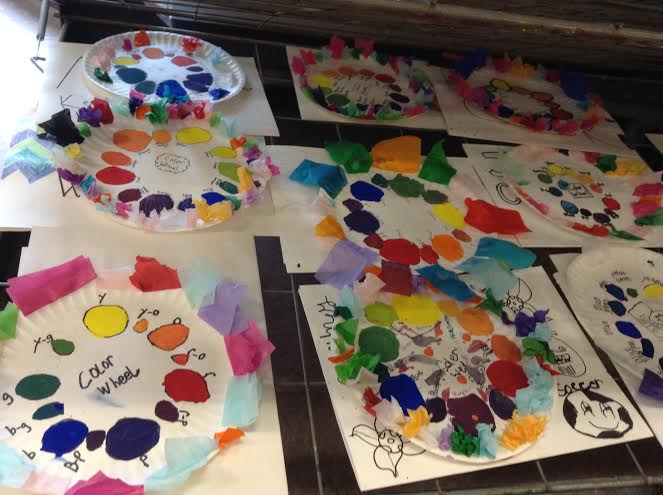
This year, we will be taking all of our color wheels to make a giant collaboration project in celebration of One Book, One School: The Cricket in Times Squares We will be combining all the paper plates together to make a Chinese Dragon! More Pictures coming!
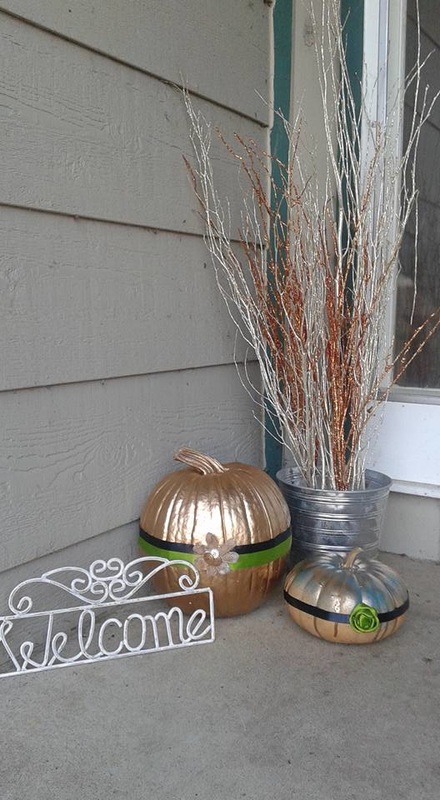
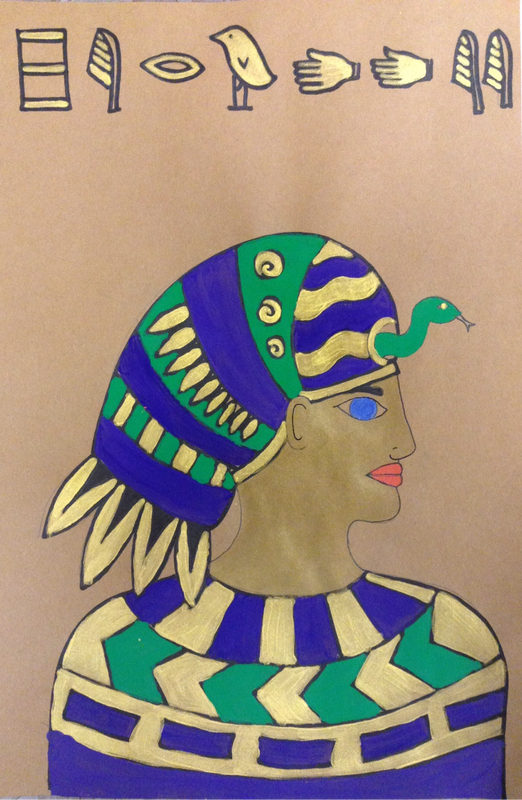
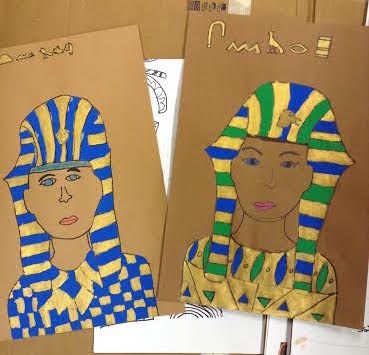
I pass out 2 handouts, one about hieroglyphics and one that shows how to draw an Egyptian Portrait. Students must decide to do either a profile (side) portrait or a forward facing portrait. I created a face tracer to eliminate the teeny, tiny faces that are usually drawn. Students draw the rest themselves: eyes, nose, mouth, headdress, patterns and hieroglyphics. Materials: Pencil First, Outline in Sharpie and Regular Tempera Paint PLUS Gold Metallic Paint
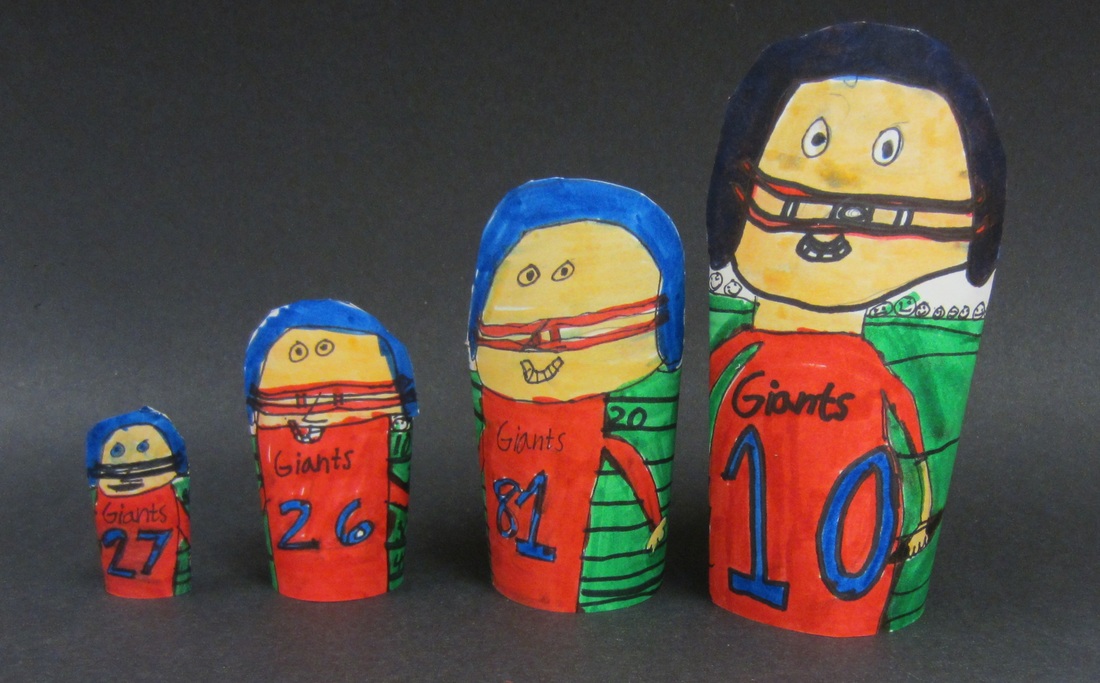
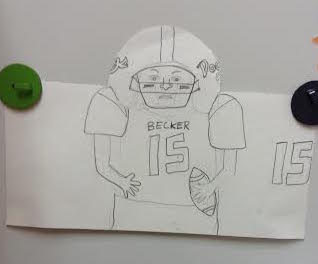
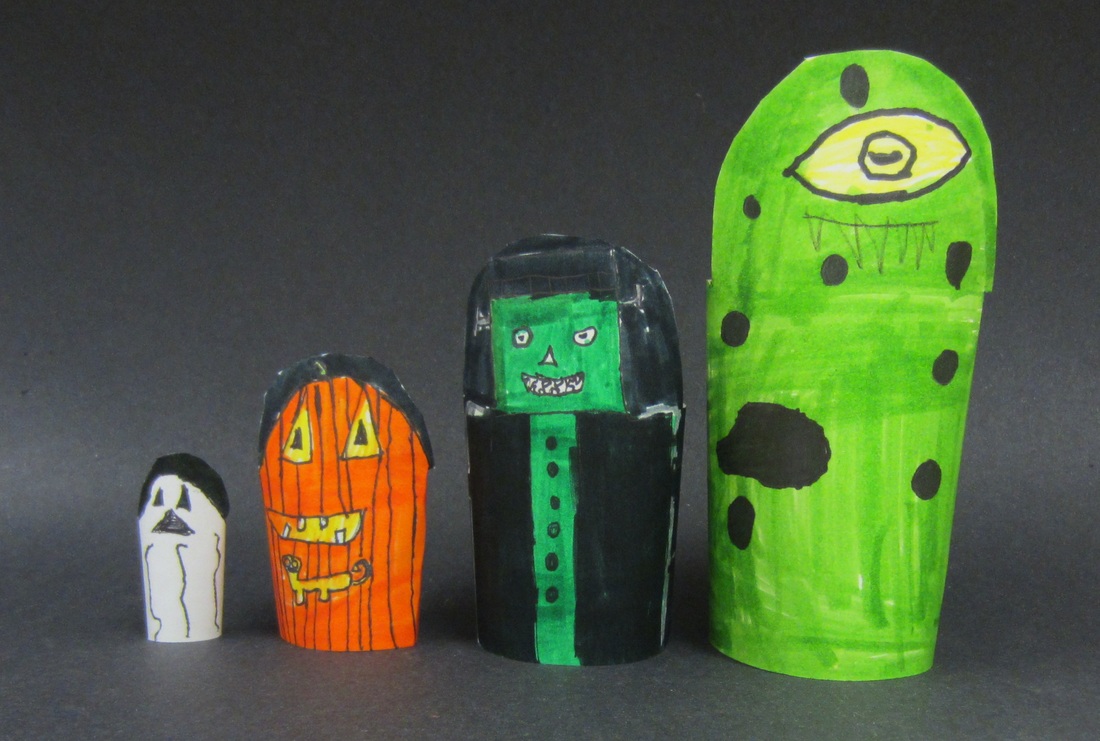
 This lesson has been a recurring art lesson for my 3rd graders for the past 5 years and it has been a hit every year! I start with presenting Matryoshka Dolls (Nesting Dolls) and Russia to my students. We look at different examples of Nesting Dolls and look at the similarities between the dolls. Students choose a theme for their dolls and use tracers to get the right size for each doll. They starts with only 4 dolls but if they finish early they may add 2 more.
 4th graders are having a great time creating their own version of Keith Haring Graffiti. In this lesson, we look at the Artist, Keith Haring and his artwork. We talk about how to make a drawing look like it is moving by adding "Action Lines" They first draw in pencil, outline in sharpie marker and then add color
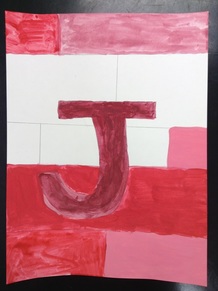
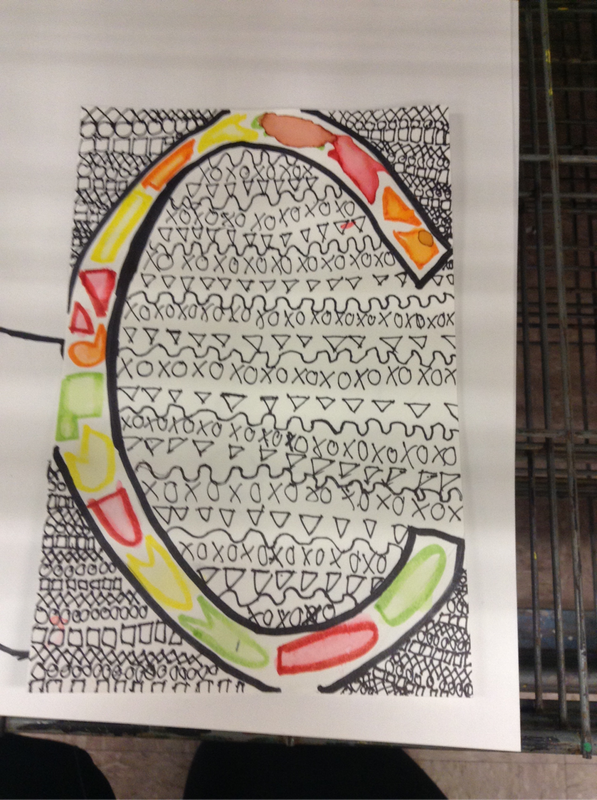
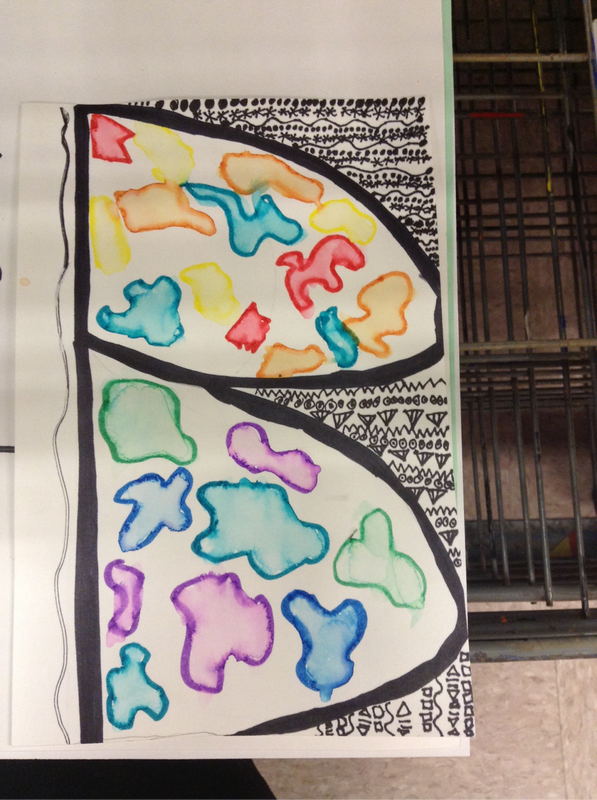
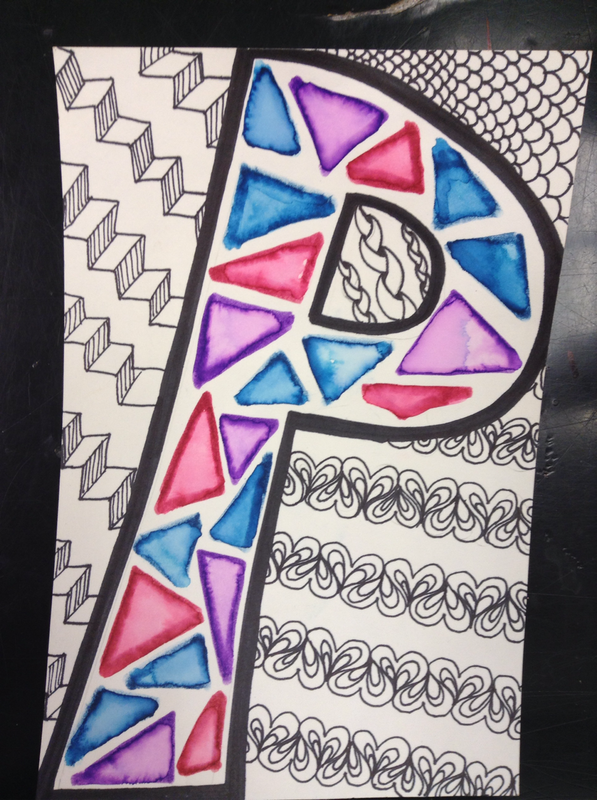 4th graders are creating their own Zentangles. Zentangles are an easy-to-learn, relaxing, and fun way to create beautiful images by drawing structured patterns. Each student uses either their first letter of their first name or first letter of their last name. They outline their bubble letter in sharpie marker and then create surrounding patterns. They write their name so it touches each side of the paper, that way it separates the paper into sections. They use a sharpie pen to make the patterns. Once finished with patterns, they may add color by using a marker bleeding technique. The marker bleeding technique is explained and shown in a different lesson on this Art of Ed link.
|
Categories
All
Gail Peroddy
I'm in my 6th year teaching art in Becker, MN. Time has really flown by! Wowza! Archives
April 2016
|


 RSS Feed
